Article content
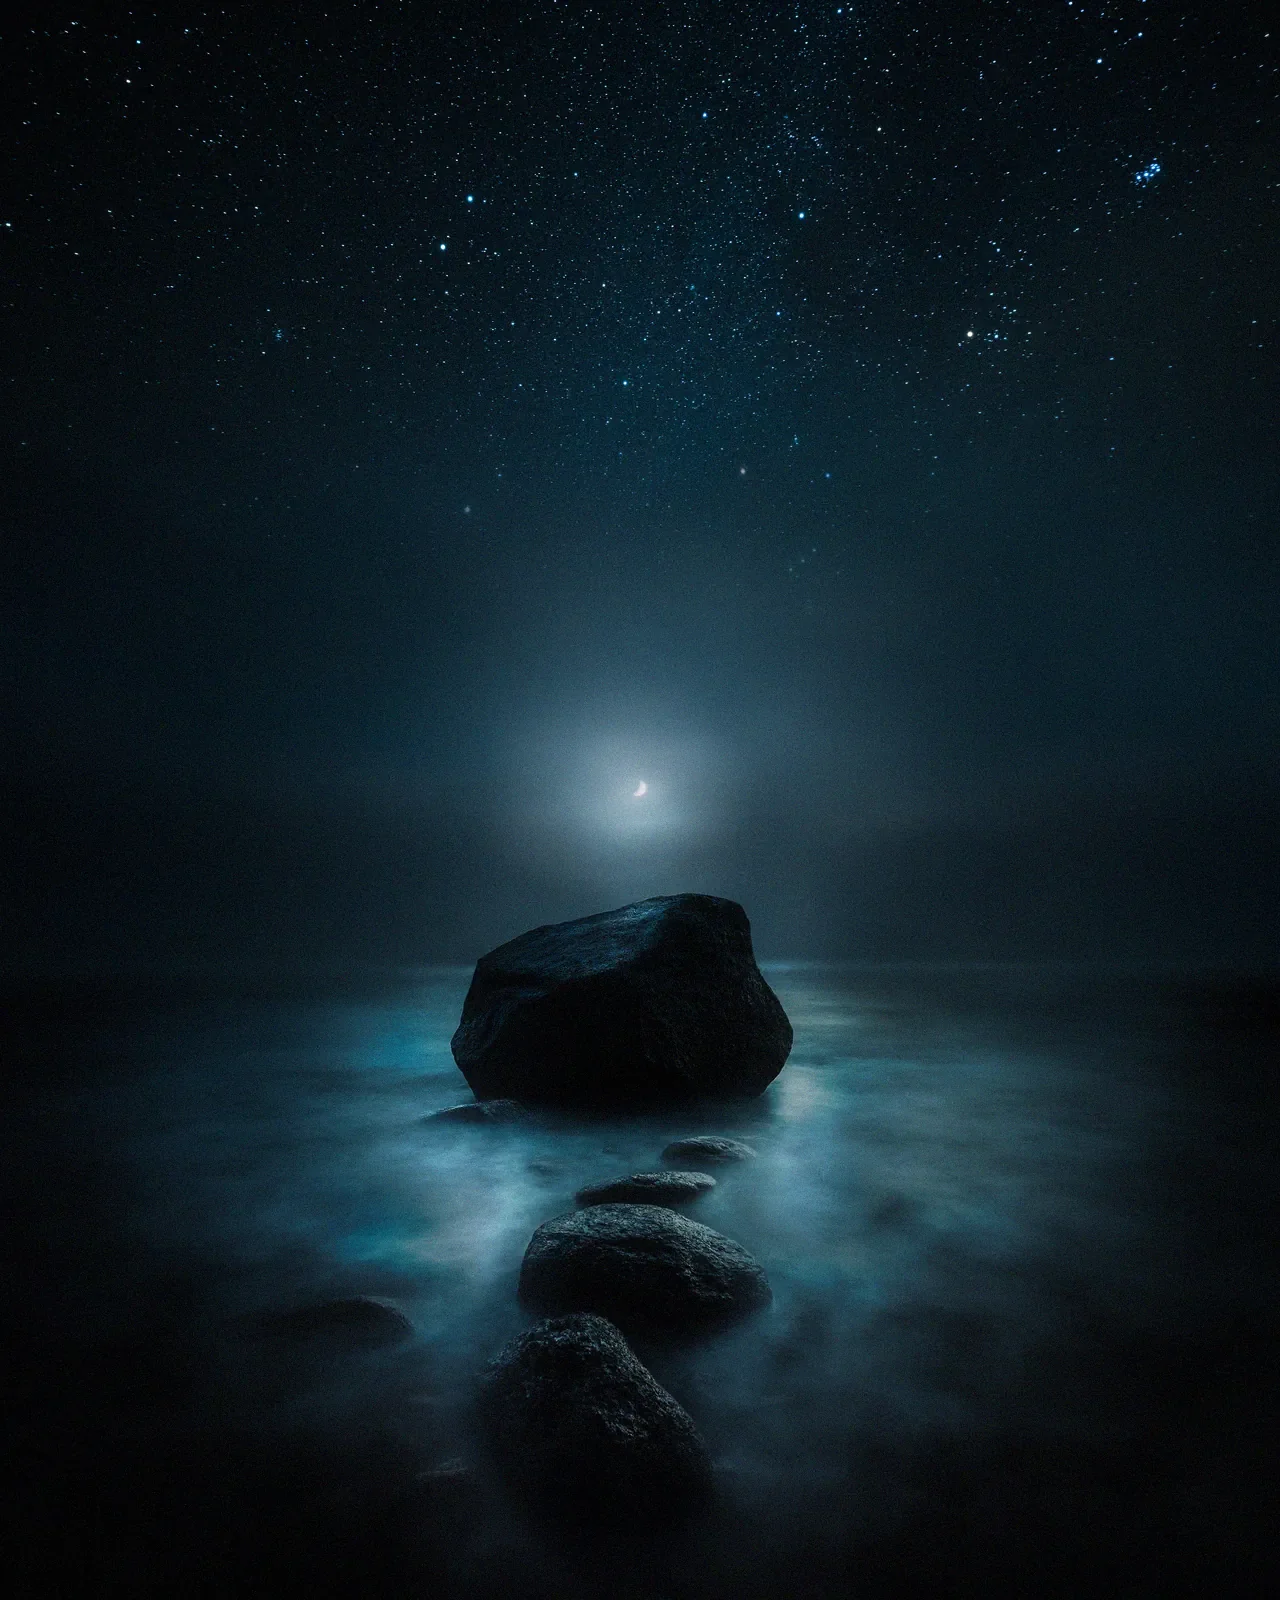
The silence of the Northern night is special. When you stand under the Northern Lights, you feel small. I often look up and wonder what people thought hundreds or thousands of years ago. Before science explained why the sky lights up, the night must have felt alive. Did they see spirits? Were they afraid?
When we look at the Northern Lights today, we see the same thing they saw. It is a connection to the past. The landscape is dark. The cold feels sharp on your face. The lights move that feels wild and ancient. This is the feeling I try to capture in my photos.
Taking the photo is only the first step. Modern cameras are great, but they often struggle to capture the mood. When you open the file on your computer, the photo might look flat. And so the magic is missing.
I have photographed the Northern Lights for over 15 years. I have learned that editing is not about making the lights brighter or more colorful. It is about finding that atmosphere again. It is about making the image feel as the moment itself.
In this article, I want to share how I edit these photos to edit with atmosphere.
The problem with normal editing
Night photography is different from daytime photography. The light changes fast. The shadows are dark. The colors are simple but delicate. Most editing tools and presets are made for sunsets or daytime landscapes. If you use them on a dark night photo, they often ruin the image. They make the colors look fake or they make the dark parts look grey and messy.
To get a good result, you need tools that are made for the night.
Edit with a plan
Professional editing is about making choices. Do not just pull sliders randomly. Ask yourself what the mood was. Was it a bright storm that lit up the snow? Or was it a quiet, dim glow on the horizon?
Different nights need different edits. If you use a heavy filter on a quiet night, it will look wrong. This is why you need a system. You need to match your edit to what you saw.
My 3-step workflow
My process is simple. I always do things in this order to build the atmosphere.
1. Choose the Colors. First, I decide on the mood. I do not just look for the "correct" white balance. I look for the right feeling. Sometimes the night looks cold and blue. Other times it looks soft and green. I use color settings made specifically for the aurora to keep the colors rich and natural.
2. Balance the Light. Aurora photos have bright lights in the sky and dark ground. We need to balance this. The goal is to keep the sky bright but also show some detail in the dark ground. We do not want the photo to look flat. We want to keep the separation between the sky and the land.
3. Clean Up the Quality. The final step is about quality. When you shoot in the dark, the photos can be grainy. We need to remove the noise from the dark parts but keep the stars sharp. Standard tools often blur everything too much. When you do this right, the image looks clean and sharp on any screen.
The Borealis system
I made the Borealis Northern Lights Lightroom Presets because I needed better tools for night photography. Normal landscape tools did not work for the Northern Lights. Borealis is a set of tools designed specifically for these photos. It helps you get the right look for different situations. It helps you fix the exposure easily. It helps you get clean, high-quality files.
It is designed to help you create images that feel real and atmospheric, without the fake look that is so common today. If you want to improve your night photography editing, you can see the full system here.
Recommended
Borealis Presets
Keep aurora edits natural with controlled color and atmosphere.