How to Photograph the Northern Lights: Camera Settings
Contents
I love to capture the northern lights, and because I get questions from people on how to capture them, I decided to share my experiences on the topic. A phone can record the aurora too, especially when it is bright, but a camera with manual controls gives me more room to work with moving light and a dark landscape. The gear keeps changing, so I’ll concentrate on settings, focus, and when and where to photograph the northern lights.
If you are heading out soon, start with a tripod, a wide lens, manual exposure and a test frame. For a moving aurora, try a few seconds rather than leaving the shutter open for 20 or 30 seconds. The settings below are starting points; the photograph on your screen will tell you what to change.
What kind of equipment is needed to capture aurora?
- A DSLR or mirrorless camera with manual exposure and usable high ISO. Noise depends on the camera and the exposure, so do not treat ISO 6400 as a requirement.
- Wide-angle lens between 12 to 24 mm (full-frame equivalent) with an aperture between f/1.4 to f/2.8
- Tripod
Aurora nights are cold, and batteries and fingers suffer first. My Winter Night Photography Checklist covers batteries, clothing and accessories.
Can you photograph the northern lights with a smartphone?
Modern phones with a night mode can photograph a bright aurora, although the result and available controls vary by phone.
If you are using a smartphone, here are the keys to success:
- Steady the phone: A small tripod helps with a multi-second exposure. If the aurora is moving quickly, a long night-mode exposure may blur its shape.
- Use night mode or manual controls: Start with the shortest exposure that shows the lights clearly. If manual controls are available, adjust exposure time and ISO after checking a frame; the highest ISO can add unnecessary noise.
- Check focus: Tap a distant light if your app allows it, then enlarge the result to check whether the horizon and stars are sharp.
On Android, the camera app often has a Pro or Manual mode where you can set the shutter time and ISO yourself; the names and limits differ between makers. On an iPhone, Night mode chooses the exposure time itself, and on a tripod it may offer a longer time that you can pick with its slider. On any phone, take a few frames and keep the one where the aurora still has its shape.
Where to capture the northern lights and when?
- Go north and shoot towards the north is an excellent place to start. Some areas that I think are worthy of consideration to capture Auroras: Finnish Lapland, Swedish Lapland, Iceland, Svalbard, and Northern Norway.
- Stay away from city lights. If you have captured night shots, you know how bad those lights can look on the horizon, that’s why I always recommend avoiding light pollution.
- The best time to capture the Aurora Borealis is from autumn until spring.
- Some of the most famous and reliable places in the world to see them include:
- Europe: Finnish Lapland, Swedish Lapland, Northern Norway, and Iceland.
- North America: Fairbanks, Alaska (USA); Yellowknife (Canada); Whitehorse, Yukon (Canada); and Churchill, Manitoba (Canada).
You can also see them in the northern contiguous United States (like Michigan’s Upper Peninsula, Minnesota, or Maine) during strong geomagnetic storms.
And, when the geomagnetic storm is huge, the aurora can be seen much further south than you might expect!
How to know when to shoot?
- Other than continually looking at the evening sky, there are plenty of different apps that show you forecast for Auroras. The forecasts use the KP index, which is a scale of geomagnetic activity. The higher the KP, the higher the chance of seeing the Aurora in lower latitudes. For example, if a place you are visiting has usual visibility when it’s KP 3, then you might want to head out even when it’s KP 2 because you might get lucky. Some of my favorite Aurora Borealis forecast apps are Aurora Now, Aurora Fcst, and My Aurora Forecast
- Check the weather forecast and hope for clear skies, but remember to look out because sometimes the estimates are wrong, and you don’t want to miss out on the show!
- Many photographers use the NOAA Space Weather Prediction Center for its 30-minute forecast.
A forecast helps me decide whether to go, but cloud cover and the sky in front of me matter more once I am there. I scout a safe foreground before dark, bring a charged spare battery, and check that the lens is clear of condensation or frost. The aurora can change faster than a forecast refreshes.
Camera settings for northern lights
Use manual exposure, shoot RAW if your camera allows it, and start with a wide lens at f/1.4–f/2.8. A useful first test for a moderate aurora is f/2.8, 5 seconds and ISO 1600–3200. Check the result and histogram, then adjust one setting at a time. There is no single exposure for every display.
| What you see | Shutter speed to try | What to adjust next |
|---|---|---|
| Bright, fast-moving curtains | 1–5 seconds | Raise ISO if the landscape is too dark; shorten the exposure to keep detail in the curtains. |
| Moderate movement | 5–10 seconds | Adjust ISO to suit the foreground and highlights. |
| Faint, slow glow | 10–20 seconds | Open the aperture or raise ISO if needed; inspect stars for trails and the aurora for blur. |
These are starting ranges, not fixed recipes. A longer exposure gathers more light but can turn distinct aurora folds into a green wash. If the brightest part loses detail, shorten the shutter time or lower ISO. If a moonlit or snowy foreground is bright, you may need less exposure than you expect. For dark ground and a fast sky, consider separate exposures only if you are comfortable combining them honestly later.
How to focus on the aurora at night
Switch to manual focus and magnify a bright star or a distant light in live view. Turn the focus ring until it is as small and sharp as possible, then take a test frame and zoom in on the stars. Do not rely on the infinity mark alone; focus can shift when you move the lens or the temperature changes. Check it again during the night. How to Capture Sharp Star Photographs goes through this in more detail.
White balance
Shoot RAW if you can, so the white balance can still be set when you edit. In the field, a fixed white balance keeps a series of frames consistent; Auto can shift from one frame to the next. Many photographers start somewhere around 3500–4500 K and adjust after looking at the first frames: lower values make the sky bluer, higher values warmer. Aim for the green you saw rather than the most saturated one.
When the first frame looks wrong
If the aurora is a soft smear, shorten the shutter time. If stars are soft too, check focus, tripod movement and lens condensation. If the sky is dark but the aurora is visible to your eye, raise ISO or lengthen the exposure a little. If the sky is bright and washed out, look for nearby lights, moonlight or thin cloud before changing every camera setting.
Tips on taking the photographs
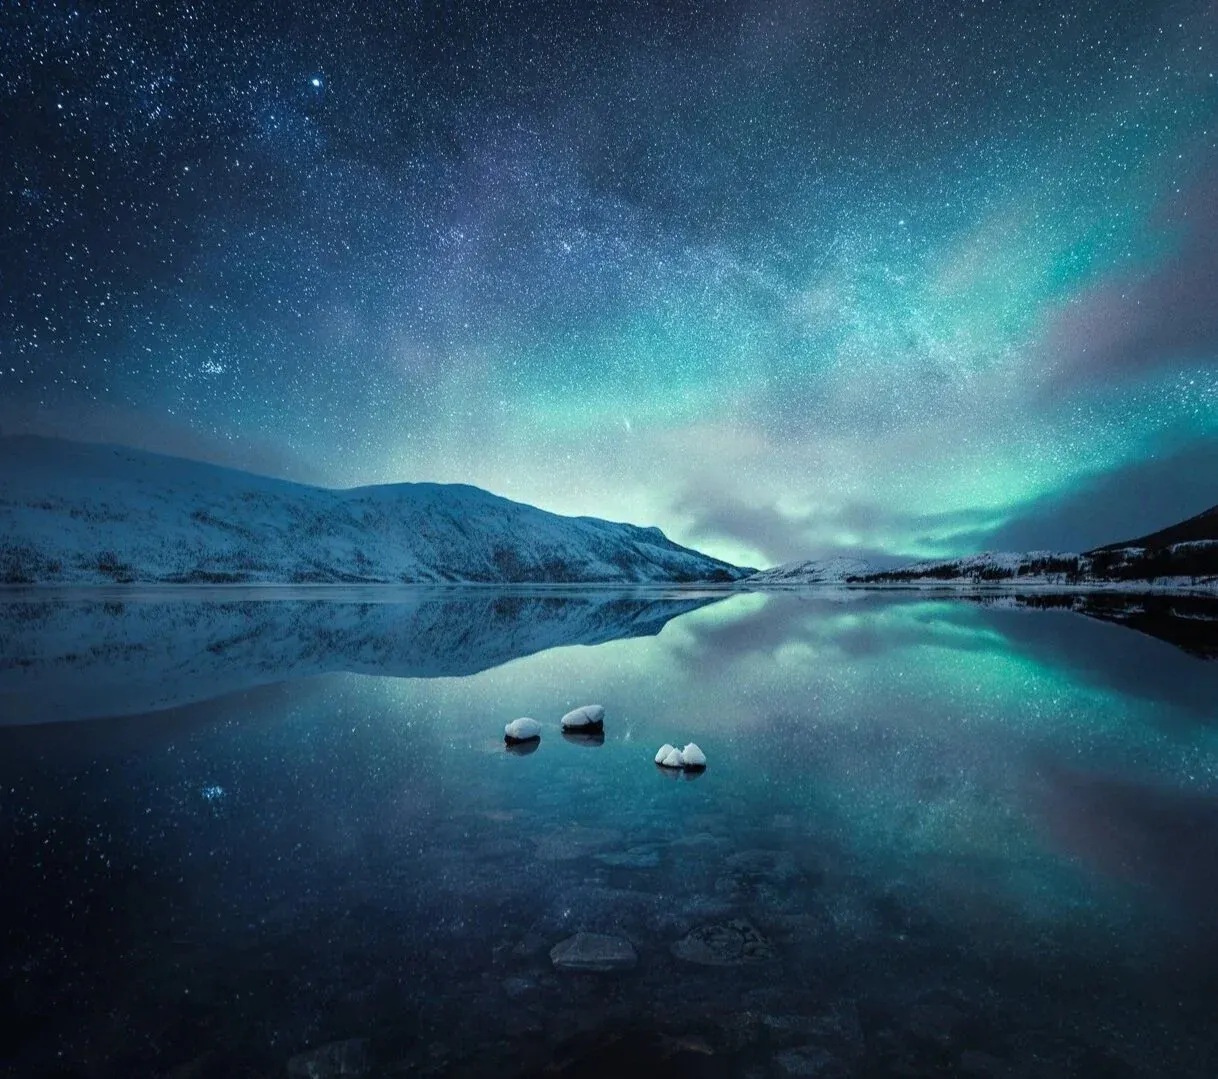
- Try to find different perspectives: look up, look for reflections, and unique subjects.
- Focus on having the Aurora in line with the subject. Circle around the subject you are focusing on and try to find creative angles.
- Aurora is a great way to compose a subject because it works great as a leading line.
How to include people in your aurora photos
Adding a person to your shot is a beautiful way to show scale and tell a human story.
- The Silhouette: This is the easiest way. Have your subject stand on a hill or ridge. They will be a dark, sharp silhouette against the bright aurora.
- The “Hold Still” Portrait: This is harder but rewarding. You will need a headlamp or a small light.
- Ask them to hold still during the exposure. Keep it short enough for the aurora’s movement and check the person’s outline on the screen.
- A brief, low-powered headlamp can light the person, but keep the beam away from other photographers and avoid over-lighting the scene.
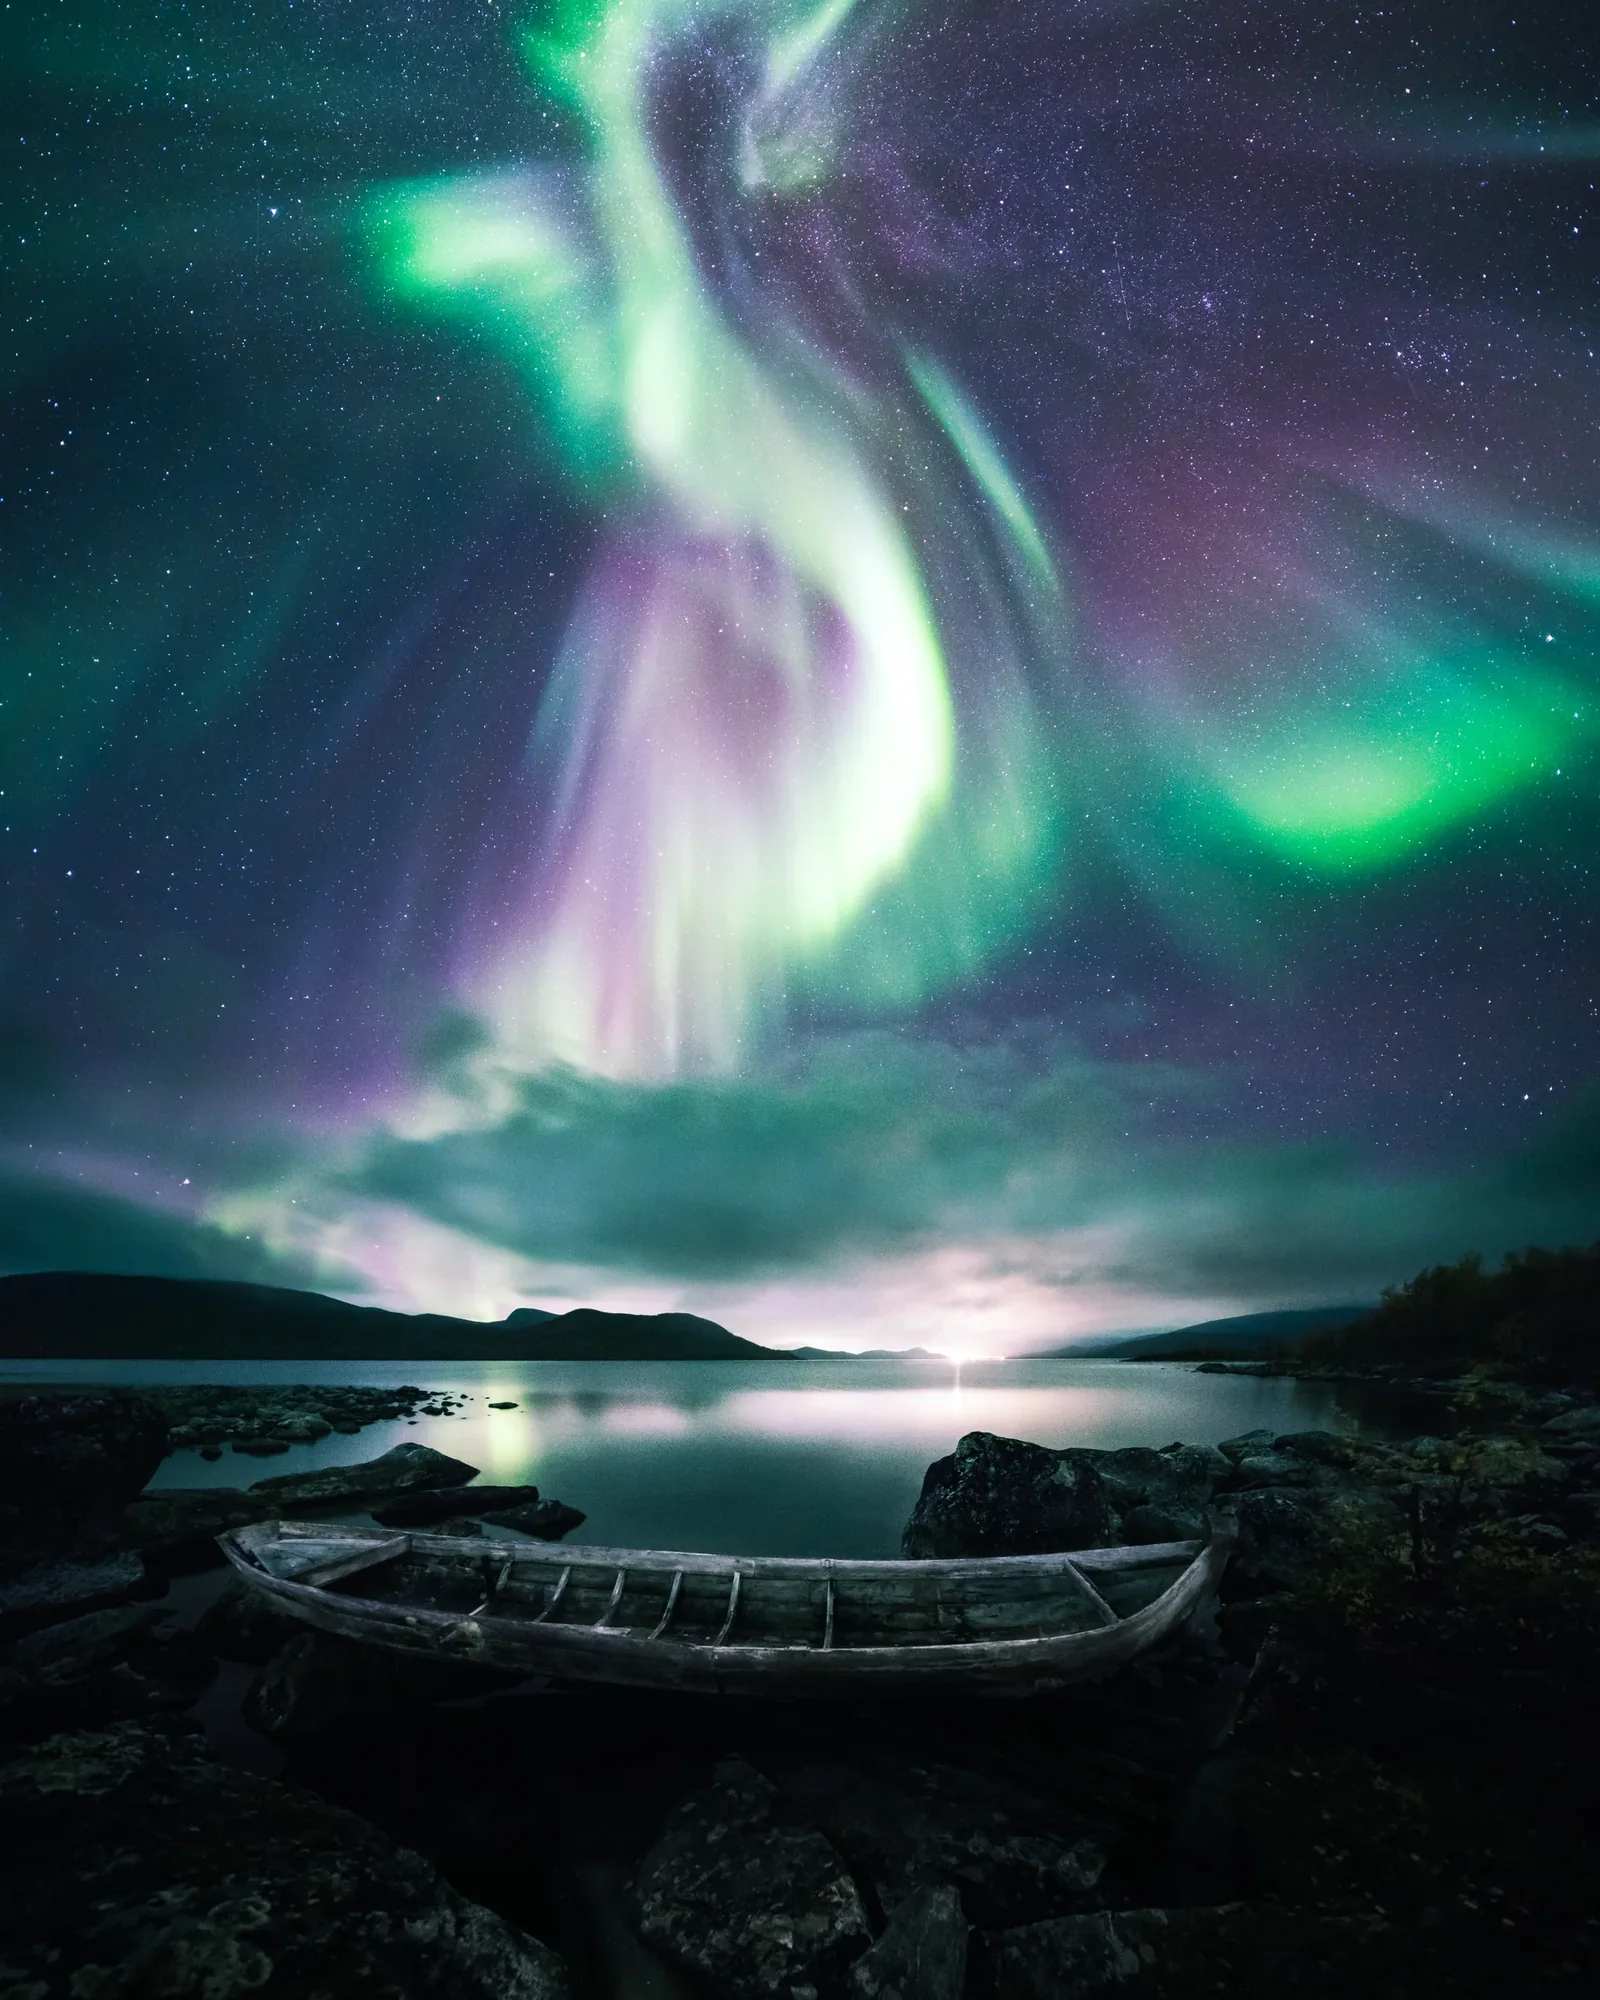
In this above photograph, I had different ways to compose it. Still, because I wanted to show the whole night sky, I opted to create a vertorama of three different horizontal photographs.
Above is another view of the same subject with an entirely different atmosphere obtained by shifting the perspective from the other side of the boat wreck. Editing the image with colder tones makes it feel more ethereal than the first shot.
Below are some of my favorite recent northern lights photographs. Click on the image to see the equipment and settings used to capture them.
Quick recap
Camera settings for capturing the Northern Lights
- Focal length: 12-24 mm
- Manual focusing
- ISO settings: adjust from a first test around 1600–3200
- Aperture: f/1.4-2.8
- Shutter speed: roughly 1–20 sec. depending on movement and brightness; shorter for fast curtains
Places to capture the Northern Lights in Autumn, Winter, and Spring
- Finnish & Swedish Lapland
- Northern Norway & Iceland
- Alaska & Canada (Yukon, Northwest Territories)
- Northern contiguous USA (during strong storms)
- Even further south (during huge storms)
When I get home, I try to keep the feeling of the night in the edit. I wrote about that in How to edit northern lights photography without ruining the atmosphere. If your frames came out blurry, dark or noisy, 5 Northern Lights Photography Mistakes (And How to Fix Them) explains the usual causes and fixes.
For night photography beyond the aurora, The Art of Night Photography covers planning, camera settings, focus and composition in the dark.
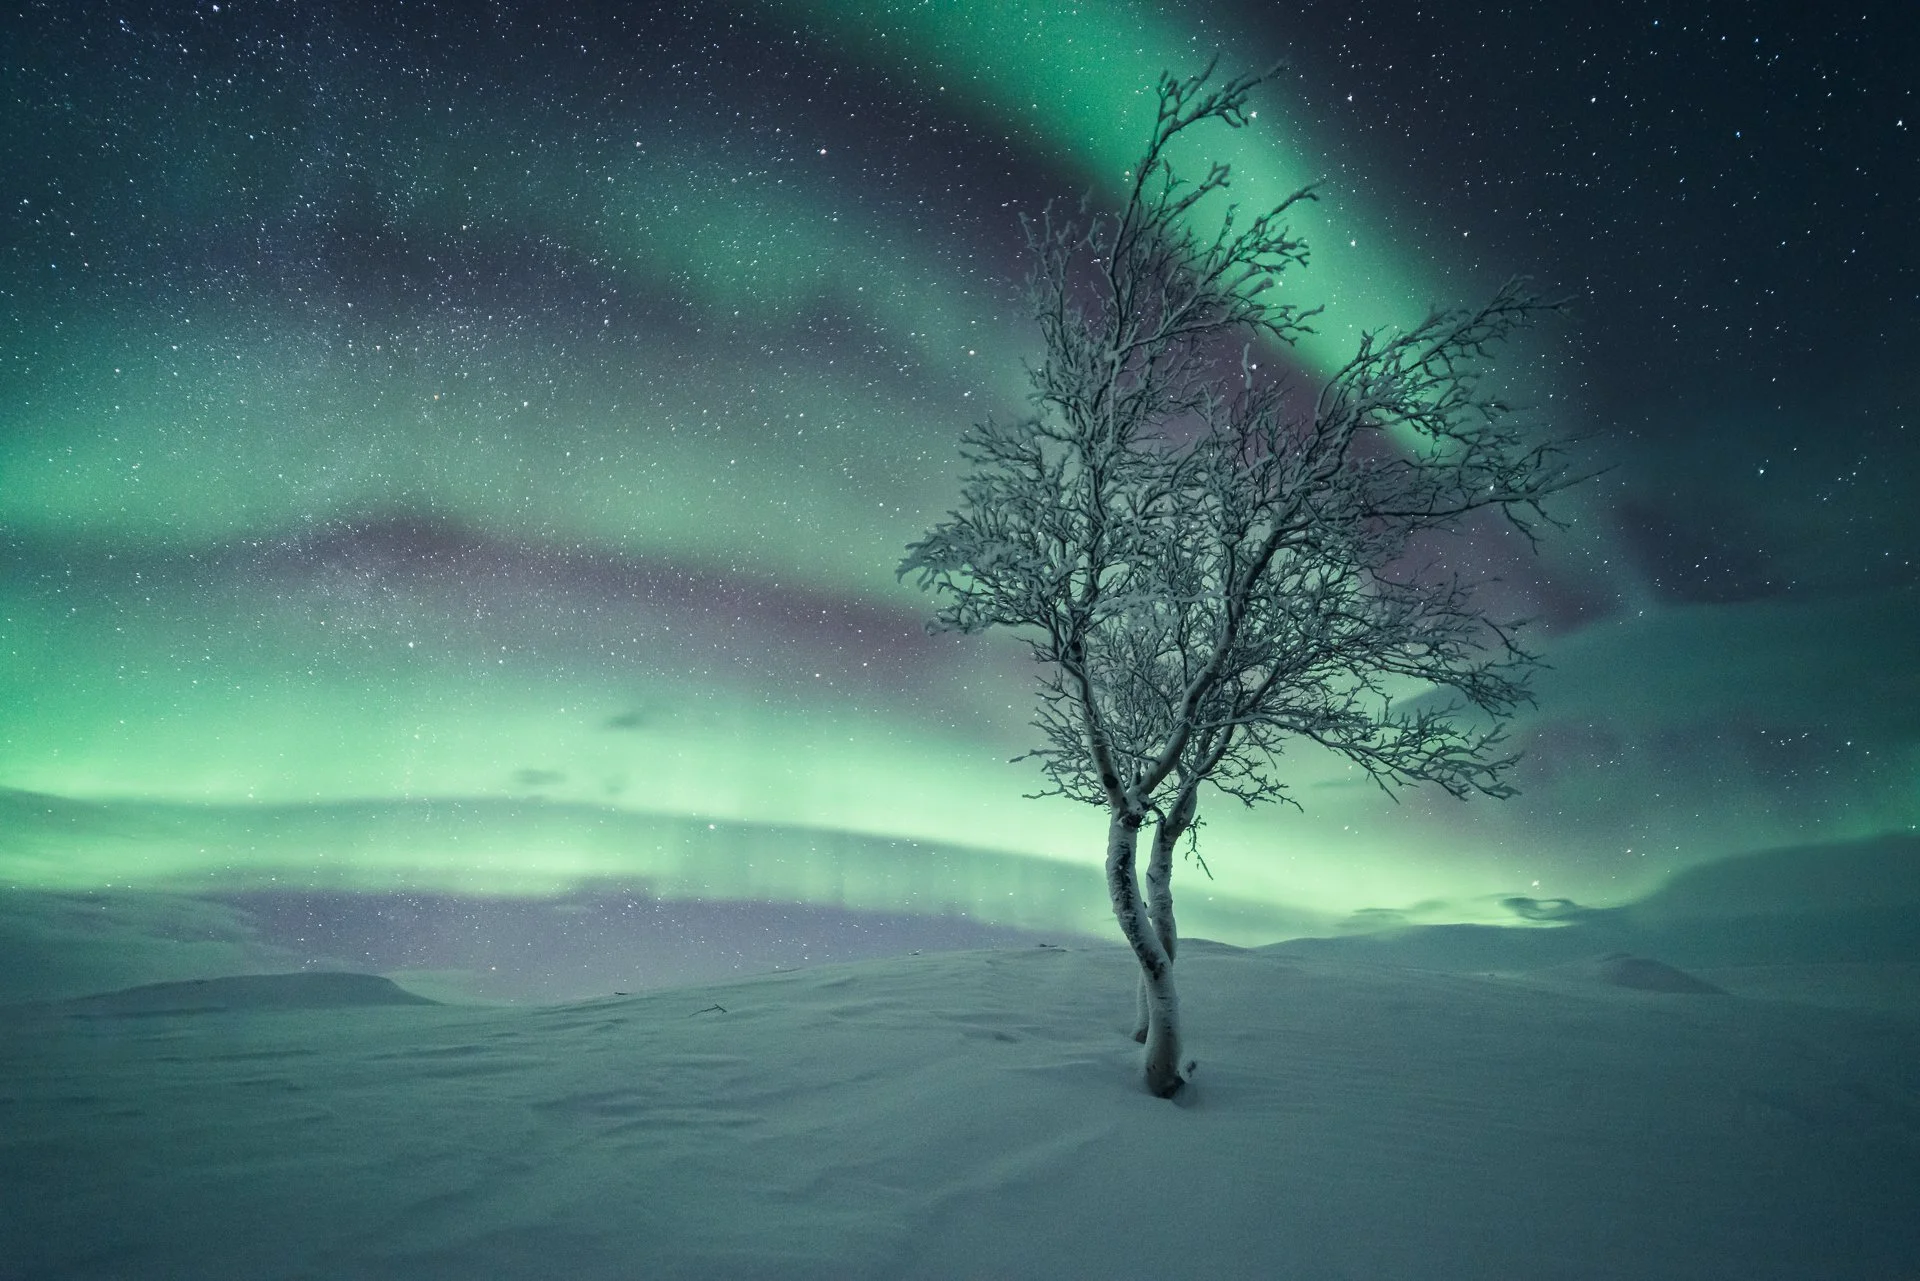
Two of my aurora photographs are also available as prints: Two, two trees under green northern lights on an open fell, and Arise.
If you would like a short field companion before going out, my free Night Photography Guide covers stars, the Milky Way and aurora.
Have you experienced Aurora Borealis yourself, if so where did you see them?
Continue reading
How to edit northern lights photography without ruining the atmosphere
When I edit the northern lights, I try to keep the cold and darkness I remember. I share my approach to colour, light and noise in Lightroom.

5 Common Northern Lights Photography Mistakes (and How to Fix Them)
Blurry stars, smeared aurora or a dark foreground? Five Northern Lights photography mistakes, with practical fixes for focus, exposure, composition and editing.

The Art of Night Photography
Night photography settings, planning and focus for stars, moonlight and star trails, alongside my approach to composition after dark.