How to create EPIC colors in Lightroom CC & Camera RAW
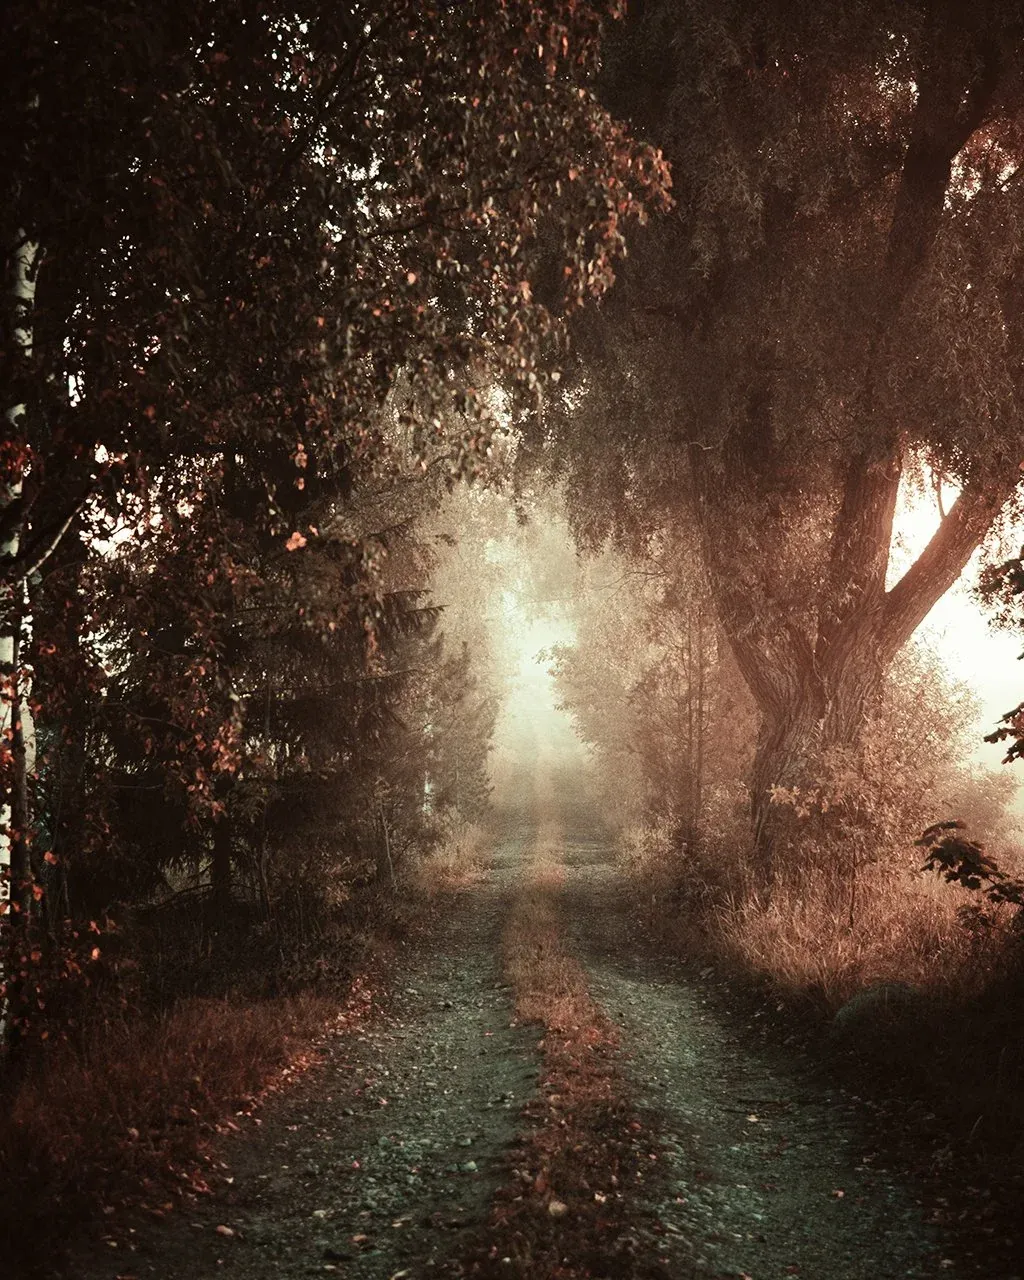
Happy weekend everyone! I released the EPIC Preset System when I first wrote this tutorial, and I’m so happy how people responded to the release. I originally edited this image with the preset system, but wanted to show how you can achieve the colour transformation inside Lightroom without it. The only thing missing is the Color Profile (Control) added to the final image.
You can follow along with the video, or use the text version below to recreate the effects! Enjoy.
Basic settings
- Exposure
- + 0,20
- Contrast
- + 15
- Highlights
- – 45
- Shadows
- – 16
- Whites
- + 31
- Blacks
- – 13
Dehaze + 9
- Vibrance
- – 5
- Saturation
- – 40
TONE CURVE
S-curve to darken the image with the following points.
Input 0 || Output 2
Input 104 || Output 62
Input 192 || Output 182
Input 255 || Output 245
Color settings
- Red
- Hue
- + 18
- Saturation
- + 22
- Luminance
- – 11
- Orange
- Hue
- - 19
- Saturation
- – 25
- Luminance
- + 15
- Yellow
- Hue
- – 32
- Saturation
- – 26
- Luminance
- +15
- Green
- Hue
- 0
- Saturation
- – 24
- Luminance
- – 11
- Aqua
- Hue
- 0
- Saturation
- – 25
- Luminance
- +11
- Blue
- Hue
- – 36
- Saturation
- – 25
- Luminance
- – 42
- Purple
- Hue
- 0
- Saturation
- – 28
- Luminance
- – 17
- Magenta
- Hue
- 0
- Saturation
- – 25
- Luminance
- 0
Radial filter
Before color grading, add a big Radial Filter with shortcut Shift+M and use the following settings.
- Exposure
- + 0,90
- Contrast
- – 3
- Highlights
- + 22
- Whites
- + 9
- Clarity
- – 5
- Dehaze
- – 8
Color grading
Highlights
H:36 S:34 L:0
Shadows
H:97 S:27 L:0
- Blending
- 81
- Balance
- – 65
Effects
- Post-Crop Vignetting
- Amount
- – 21
- Midpoint
- 0
- Roundness
- + 60
- Feather
- 100
- Highlights
- 100
- Grain
- Amount
- 27
- Size
- 15
- Roughness
- 17
Calibration
Not many understand the power of the Calibration panel that’s why I have included calibration presets in the EPIC Preset System.
- Red Primary
- Hue
- + 40
- Saturation
- – 19
- Green Primary
- Hue
- + 72
- Saturation
- – 59
- Blue Primary
- Hue
- – 100
- Saturation
- + 22
Color profile
To finalize the edit, I used an EPIC Color Profile – Control. I love to use these Color Profiles to create final adjustments. They are so versatile and effective; I just love them.
And finally, here are the before and after photographs.
Continue reading

How to Create Color Profiles in Camera Raw and Use Them in Lightroom
Create a custom color profile in Photoshop Camera Raw and use it in Lightroom. An illustrated guide to profiles vs. presets, import and the Amount slider.

Cinematic Color Grading in Lightroom: Creating Atmosphere
How I use Lightroom's Color Grading tools, cool shadows and a touch of warm light to shape atmosphere in landscape photographs, with real examples.

How to Match Colors in Lightroom
How to match the colors of two photographs in Lightroom with Reference View to create a cool-toned composite image.