Cinematic Color Grading in Lightroom: Creating Atmosphere

Contents
Opening a RAW file often feels underwhelming.
The camera captures data. It records the brightness and a white balance. Yet, it often misses the cold bite of the wind, the silence of the night, or the warmth of the first light hitting the horizon. My editing process focuses on restoring that feeling. I use color to translate the physical experience of the landscape into the final image.
To create images that feel atmospheric, or cinematic, we need to move beyond simple color correction and understand how color shapes emotion. I’ll show the Lightroom settings I use for cinematic color grading, along with the photographs that shaped those decisions.
Color is more than aesthetics
Filmmakers use specific palettes to guide the audience’s emotion. A cold, blue scene signals isolation or calm. A warm, golden scene signals safety or nostalgia. Landscape photography works the same way. Curating the colors allows you to control the mood of the image.
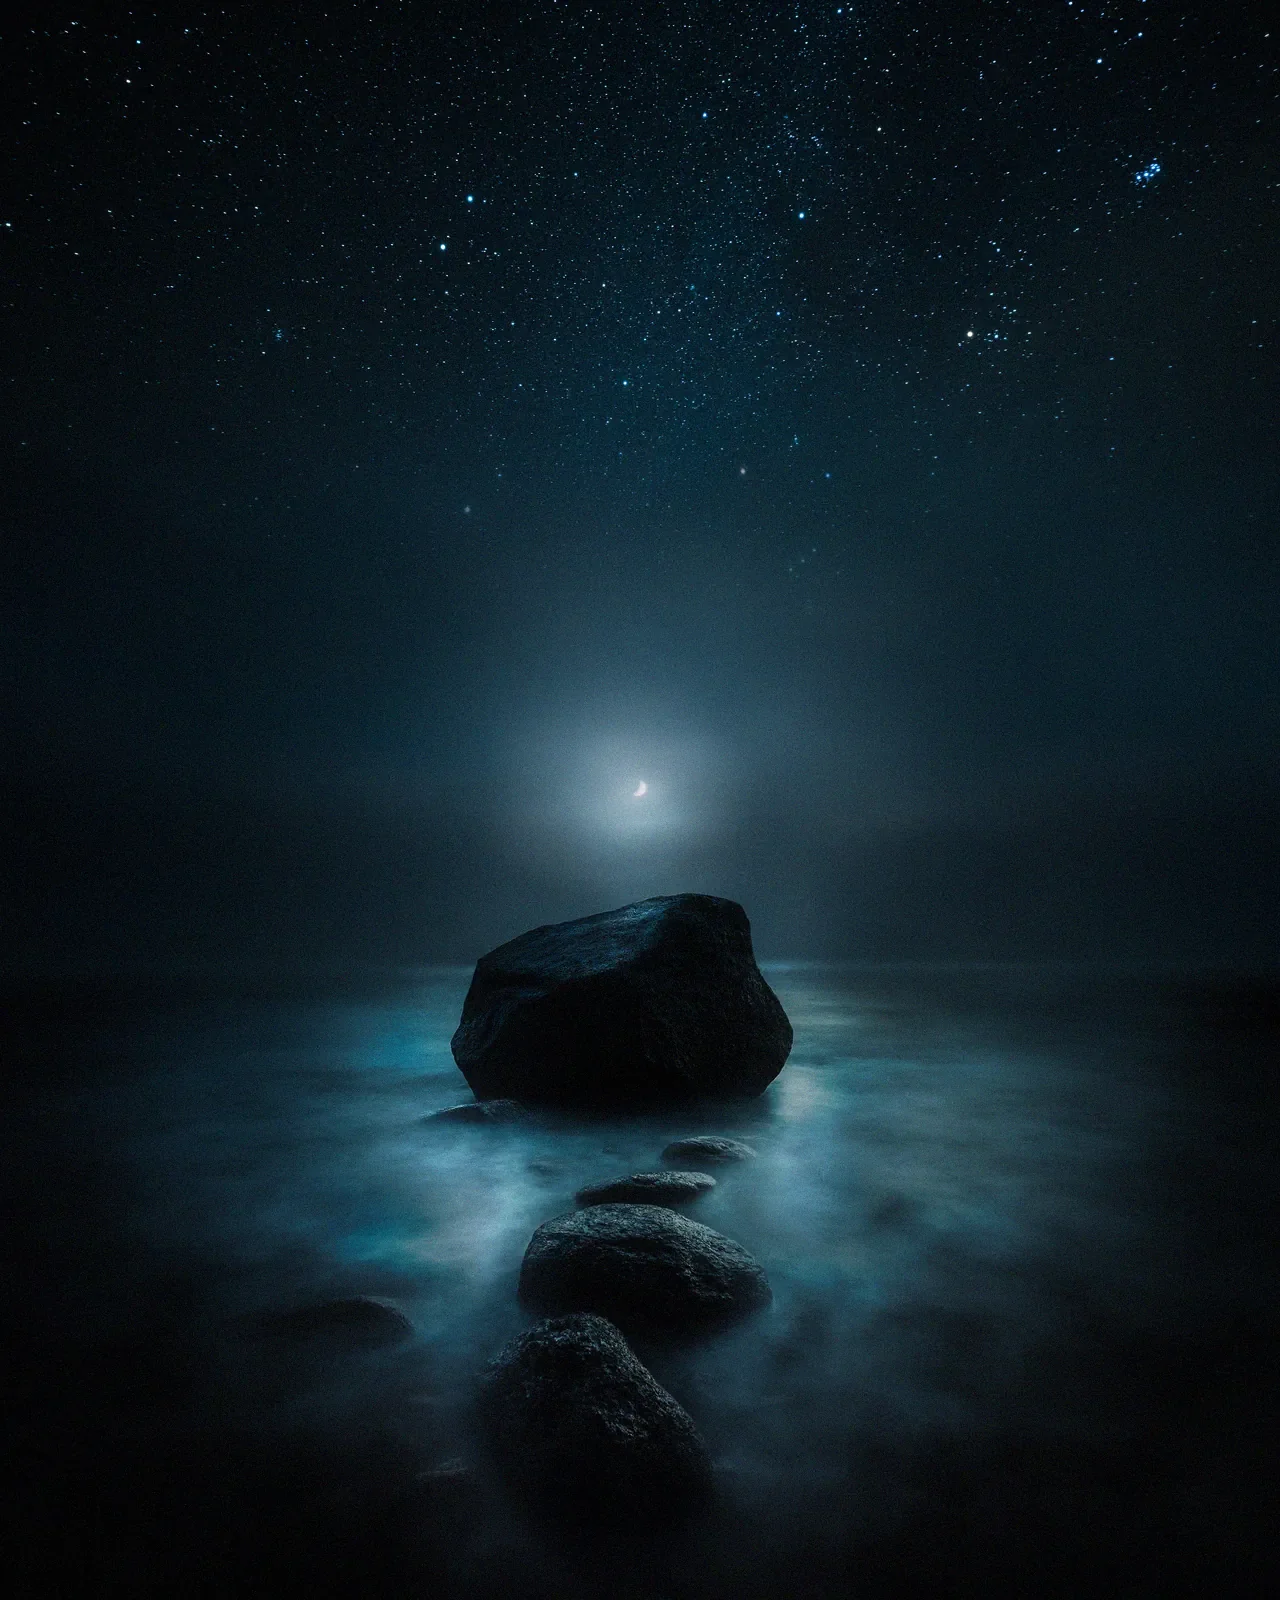
I always start with the dominant feeling of the location. If I stood in the biting cold of Lapland, a neutral white balance neutralizes the experience. I lean into the blues to communicate that cold to the viewer.
Using cool tones to create space
Living in northern Europe, cool light defines my work. Psychologically, blue creates distance, space, and silence. I pay close attention to the specific shade of blue I use.
- Cyan and Aqua ~ These tones feel dreamlike and mystical. I often use them in the highlights or mid-tones of snow. I often push the Blue Hue slider slightly towards Aqua (around -10 to -15) to separate the image from reality.
- Deep Navy ~ This feels grounded and serious. It belongs in the shadows and the night sky.
Subtly shifting the blues in the HSL (Hue, Saturation, Luminance) panel changes the personality of the image entirely. A small shift in the blue hue toward cyan can turn a cold scene dreamlike, while pushing it toward navy makes it feel heavier and more grounded.
Of course, color grading is much easier when the light is already perfect. This is why I prefer shooting during the quiet moments after sunset. Read more about my lighting approach in Why I Stopped Chasing the Golden Hour.
Adding dimension with warmth
A purely monochromatic blue image risks feeling flat. To create dimension, I use the principle of complementary colors. On the color wheel, blue sits opposite orange. In a scene that is 90% cool and blue, I look for a touch of warmth.
- A street light in the distance.
- The last glow of the sun.
- Illuminated windows in a cabin.
That small warm element makes the blue feel colder by comparison and gives the eye a distinct focal point.
Step-by-step - separating shadows and highlights
My primary tool for this is the Color Grading panel in Lightroom (formerly Split Toning). Increasing global saturation often makes an image look digital. Separating the tones creates a cleaner, more painterly result. My typical approach is subtle.
- Shadows ~ I add a cool tone (Blue or Teal) to the shadows. Try setting the Hue to 210-220 (Deep Blue) and keep Saturation low (around 10-15). This mimics how shadows in nature reflect the blue sky.
- Highlights ~ Add a warm tone. Set the Hue to 35-45 (Warm Orange) with subtle Saturation (5-10).
This separation unifies the messy colors of nature into a cohesive palette. If you want to keep a grade you like as a reusable profile, How to create and use color profiles in Lightroom CC and Camera Raw shows how.
Developing your own color identity
Color is a language. Over time, you will gravitate towards certain hues. Some photographers prefer deep forest greens and moody earth tones. Others prefer the pastel pinks of sunrise. I have found my voice in the cool, quiet tones of the North. Identifying the repeating colors in your portfolio helps you clarify your artistic identity.
Consistency in color grading helps build a recognizable style across your portfolio.
Colour you can repeat
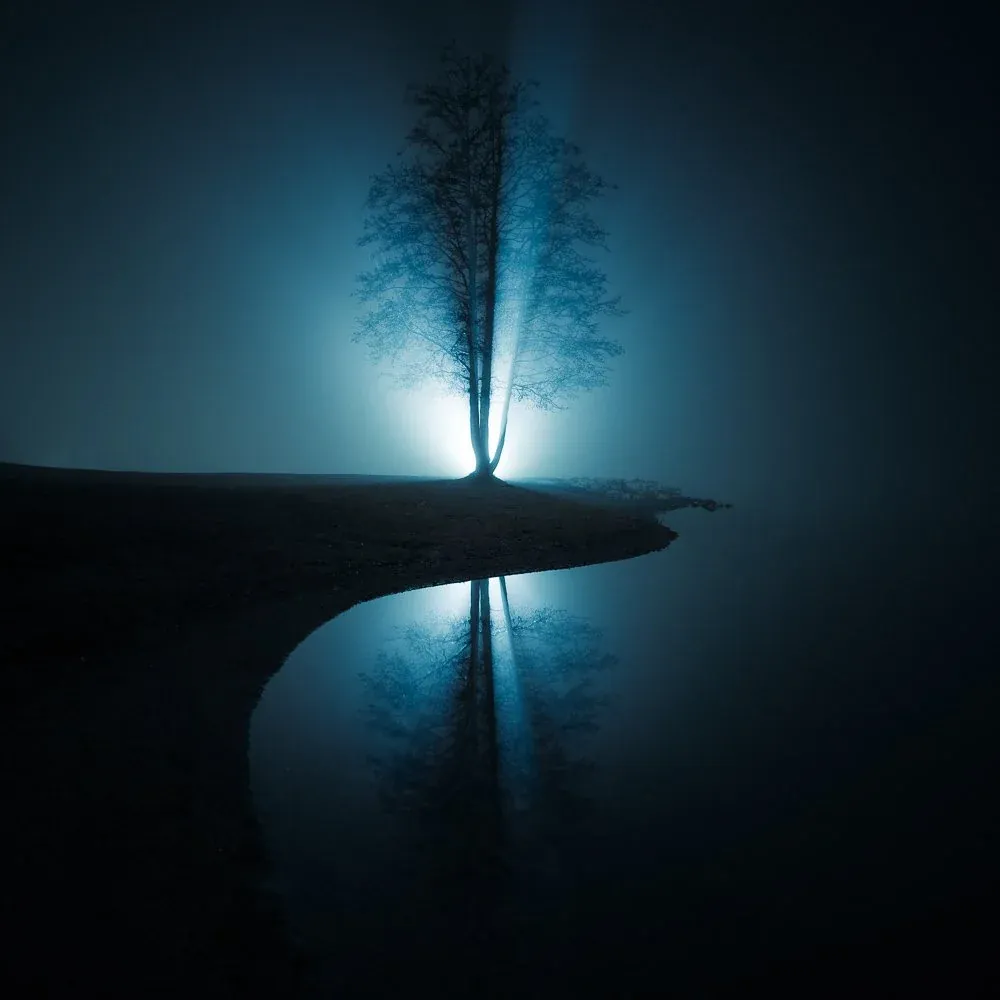
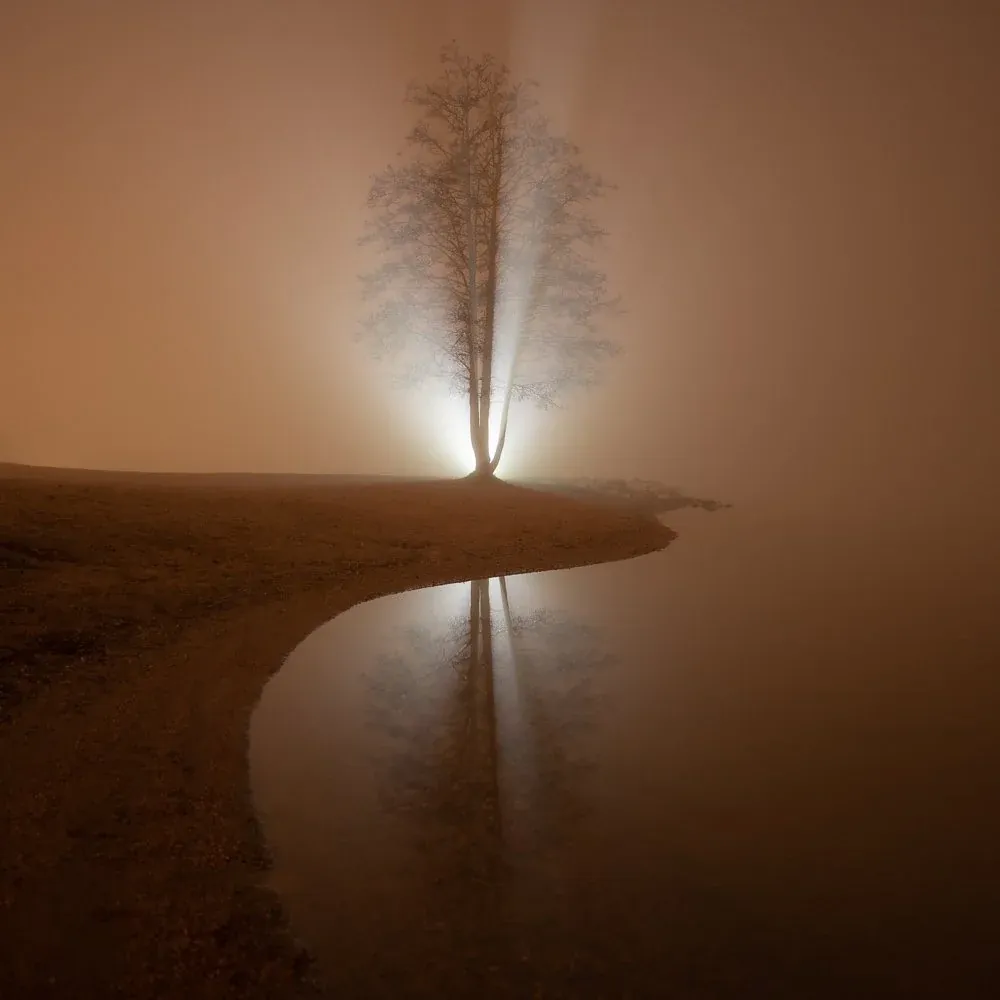
From a warm, flat RAW to a cool, cinematic grade
This is the colour direction the article describes: cool shadows, one clean light and a palette that holds together. EPIC gives that work a structure, so the same decisions can be made on the next photograph too.
- 32 colour profiles you can dial up or back to control the strength of a look
- 500+ presets in scene categories that include Cinematic, Blue Hour and Night
- A ten-step workflow that keeps colour, contrast and masks in one order
- A video walkthrough. Every preset, profile and mask stays adjustable
EPIC is not a one-click filter. The presets give you a strong starting point, and you finish each image step by step.
“They inspired me to go back to some old images and reprocess them using EPIC, and I was able to improve my photos in very little time.”
Instant download · Secure checkout · One-time purchase · Lifetime access
Works with Lightroom Classic, Lightroom and Camera Raw.
Final thoughts
Color grading amplifies the emotion already present in the scene. This is especially true when images are printed large. Subtle color decisions are what allow a photograph to hold attention when viewed up close. Pushing the white balance away from correct often brings the image closer to true. The goal is to share the feeling of the moment, not just the data.
FAQ on cinematic landscape photography
What is the best white balance for cinematic photography? There is no single “correct” setting. However, for a moody, cinematic look, try setting your white balance slightly cooler (lower Kelvin value, e. g., 4500K-5000K) to emphasize the atmosphere, especially in blue hour shots.
Do I need Photoshop for color grading? No. Lightroom’s Color Grading wheels and HSL panel are powerful enough for 95% of landscape work. Photoshop is useful for advanced masking and precise color separation.
Continue reading

4 Easy Steps to Edit Astrophotography in Lightroom
Edit an astrophotograph in Lightroom in four steps: basic settings, tone curve, local masks and final adjustments, with or without presets.

How to Create Color Profiles in Camera Raw and Use Them in Lightroom
Create a custom color profile in Photoshop Camera Raw and use it in Lightroom. An illustrated guide to profiles vs. presets, import and the Amount slider.

Why I Stopped Chasing the Golden Hour
Discover why the Blue Hour offers better light for cinematic, moody photography than the chaotic Golden Hour. Less noise, more silence.

Mastering the Mood – How to Photograph Fog and Mist
How I photograph fog and mist: work with soft light, expose pale scenes carefully and use layers to give quiet landscapes depth.