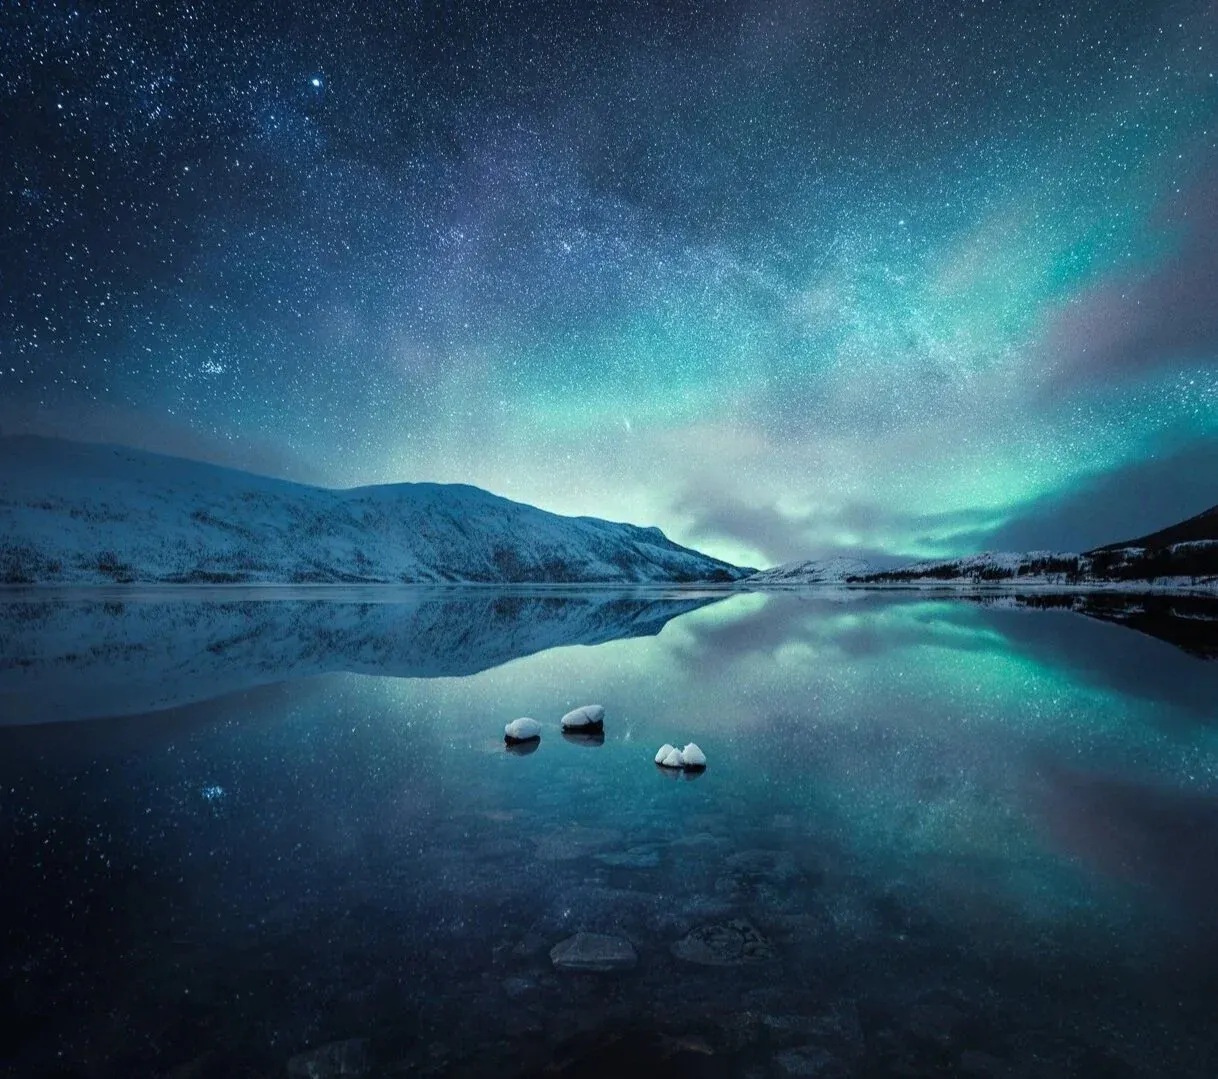
5 Steps to Boost Milky Way in Lightroom

Contents
Five steps how to boost stars and Milky Way in Lightroom. First you need a photograph captured in a dark situation pointing towards the Milky Way. Here is an example image captured in Yyteri, Finland. There are many things you need to know and consider before you can shoot these type of sceneries. You can learn these steps from my Star Photography Masterclass eBook: Learn The Secrets of Stunning Astrophotography.
The photograph from Yyteri and the values below are from the original edit. Each step gives the tool’s current name in Lightroom Classic. If you are still working on capturing the sky, start with Four Easy Steps to Capture Beautiful Astrophotography Landscapes and How to capture sharp star photographs. 4 Easy Steps to Edit Astrophotography in Lightroom is a second worked example of editing a night sky.

1. Overall adjustments
For the editing, it’s good to start with the Basic Settings. For this image, I used the following settings. Exposure +0,20, Contrast +20, Highlights -20, Shadows +11, Whites +26, Blacks -15 and Clarity +15. Experimenting with these settings is a good practice.
These are global adjustments, so they affect the whole frame, the foreground included. That is why the work on the stars and the Milky Way is done locally in the steps that follow. In current Lightroom Classic these sliders are in the Basic panel.
2. Dehaze
Dehaze is a quick way to boost the Milky Way. It was a new tool when I first wrote this tutorial, and it is a standard slider in Lightroom Classic today. I don’t usually go too high with the settings because it tends to exaggerate the colors. It also adds contrast and can make noise more visible in a night sky, so raise it gradually and check the result at 100%. For this image, I used +25. Dehaze is also available in masks, so you can apply it to only part of the image with a Linear Gradient, a Radial Gradient or a Brush mask.
3. Graduated filter / radial filter
These tools are now part of the Masking panel (shortcut Shift+W). In current Lightroom Classic the Graduated Filter is the Linear Gradient mask (shortcut M) and the Radial Filter is the Radial Gradient mask (shortcut Shift+M). The screenshots below show the older Graduated Filter and Radial Filter panels. Use either one to boost the overall contrast and clarity in the stars. Most of the time I use the graduated filter and occasionally when the image has something in the sky I use the radial filter. Depending on the picture you can experiment with different settings, for this photo I used Exposure -0,1, Contrast +45, Blacks -15 and Clarity 40. Click and drag where you want the effect to be visible. Here I went ahead and used both of these tools to give the Milky Way an extra boost. See the images for settings.
Contrast +45 and Clarity 40 are strong values, chosen for this photograph and this part of the sky. On many night photographs they make stars look harsh and noise more obvious, so start lower and judge the result at 100%. Dehaze is available in the mask as well, if you want a little more.
4. Adjustment brush tool
In current Lightroom Classic the Adjustment Brush is the Brush mask in the Masking panel. Use shortcut K to create one. For the picture, I used Exposure +0,50 and clarity +50 at 20% flow to boost the brighter parts of Milky Way. A low flow builds the effect up gradually as you paint, so the boost stays smooth. Paint over the parts with a relatively big brush. Once satisfied with the result, let’s take it even further by darkening the middle of the Milky Way Galaxy. Choose similar to these settings: Exposure -0,50 & Contrast +15. Clarity +50 is a strong setting that suits the bright core of this Milky Way. Use less on a fainter band, and check the stars at 100% so they do not turn harsh.
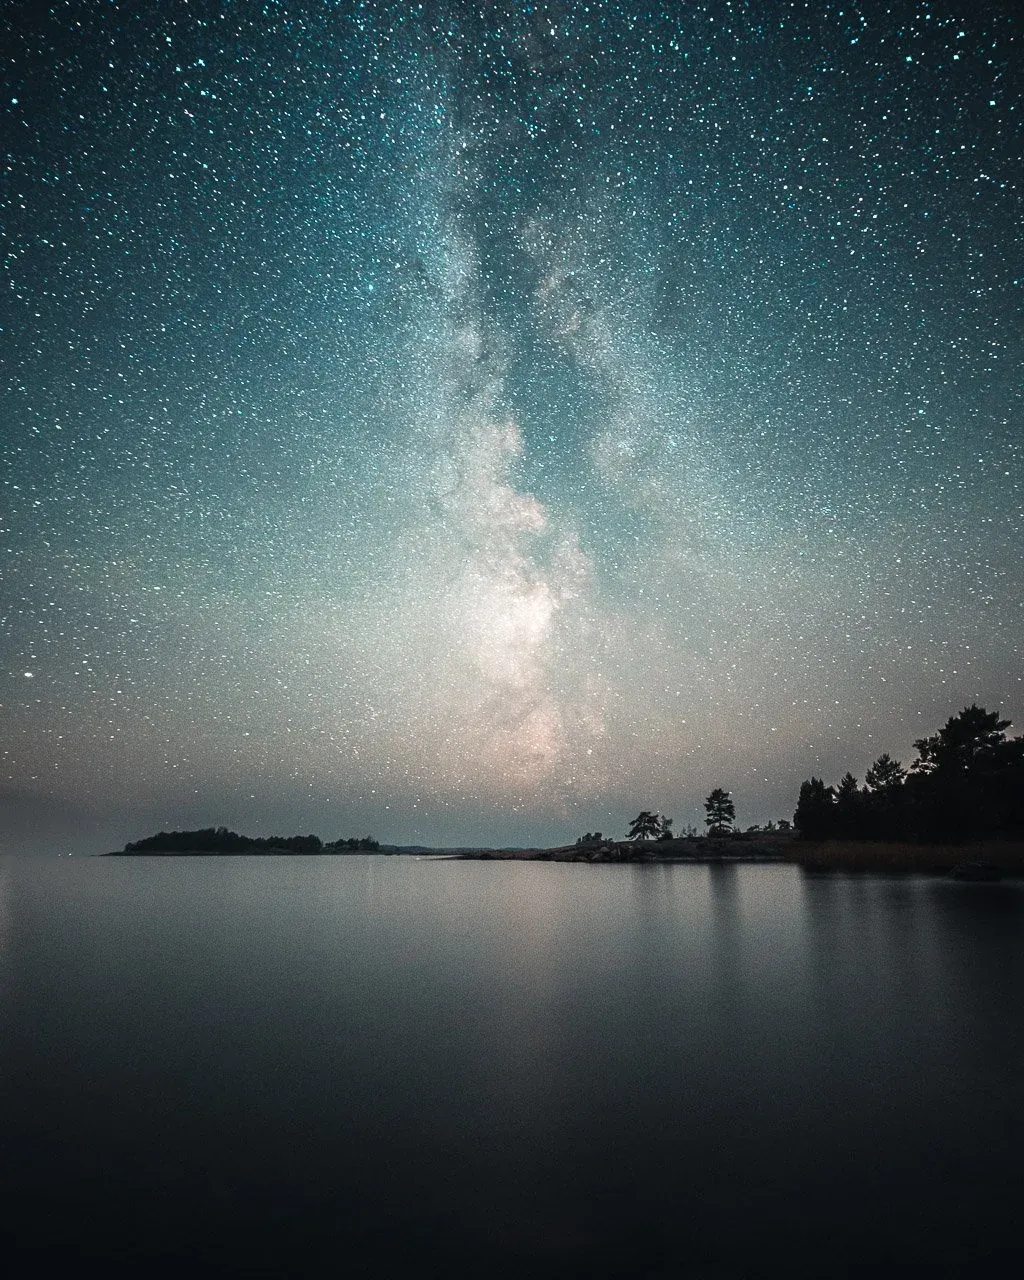
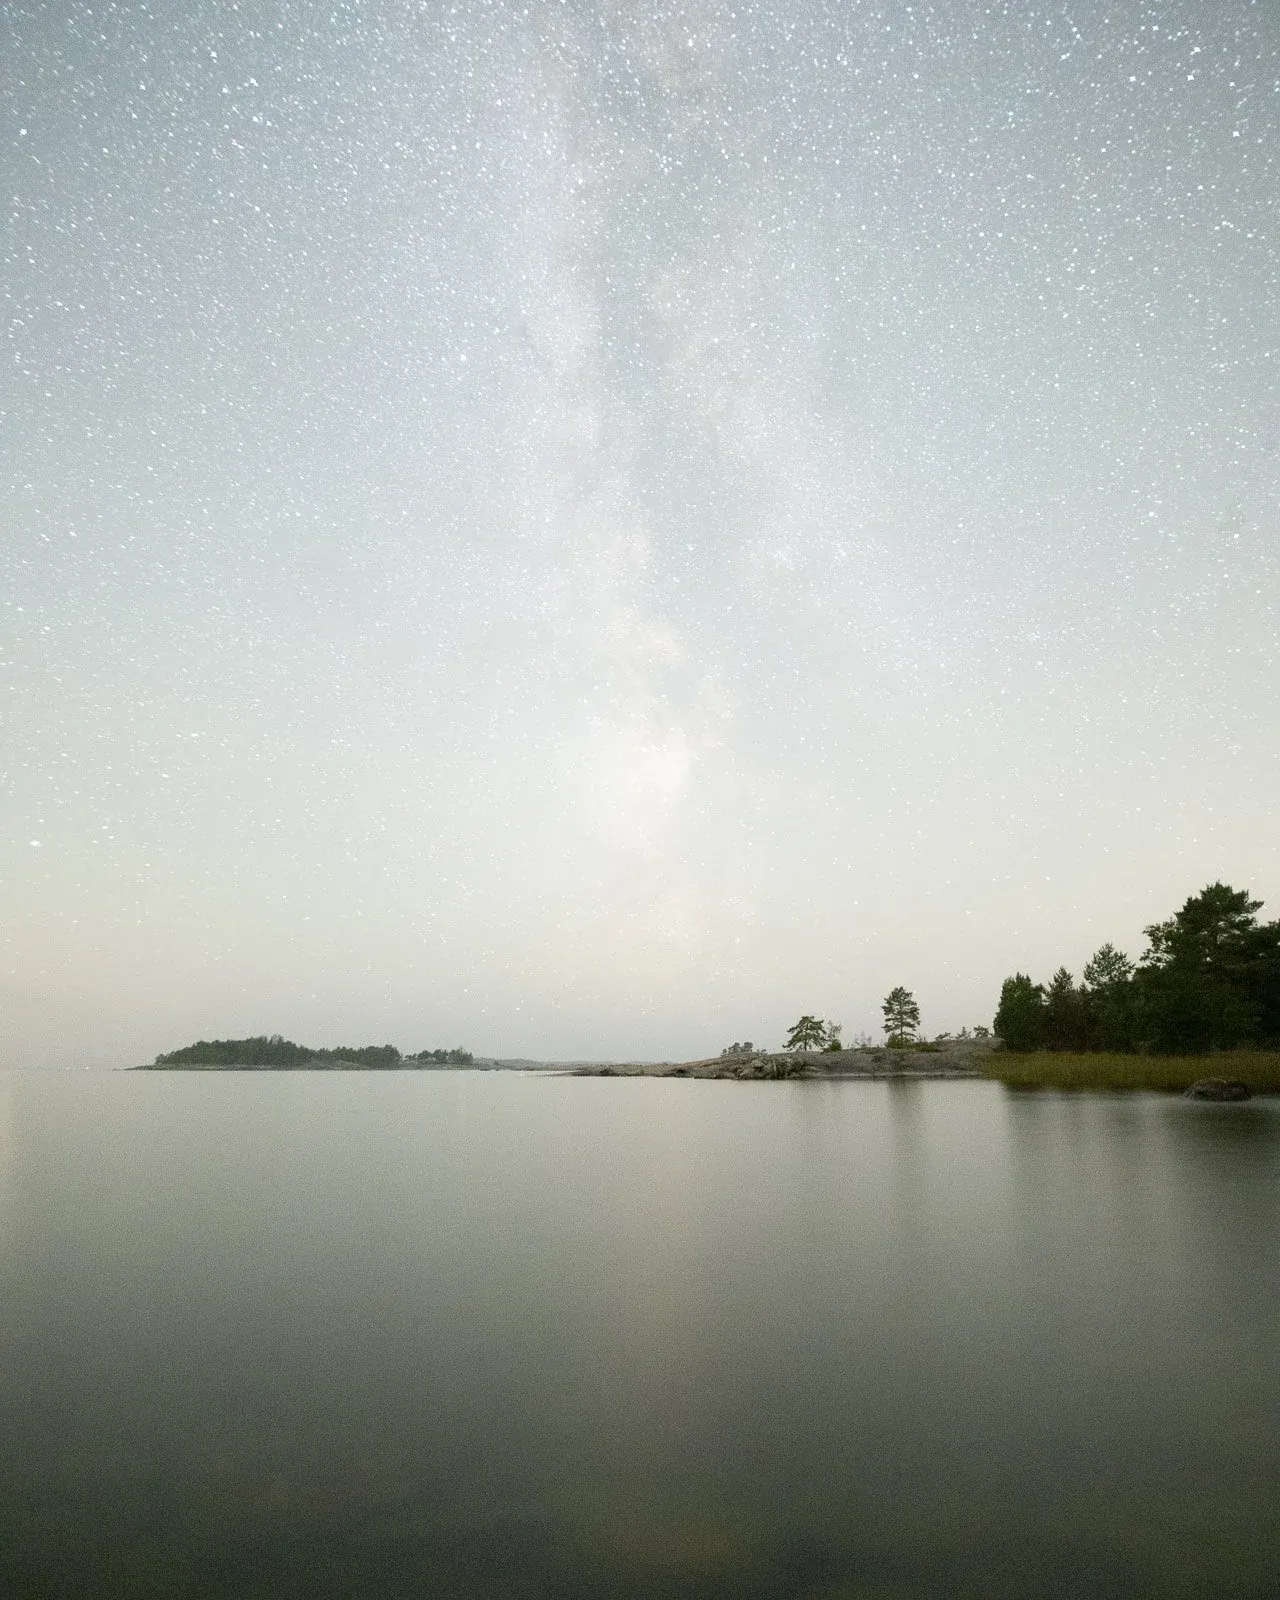
Your own Milky Way edits
From a pale night RAW to a clear Milky Way
The steps above are done by hand, one adjustment at a time. EPIC is the system I use to carry every night photograph through the same path, from the first adjustment to the final polish.
- A ten-step Lightroom workflow from first adjustment to final polish
- 500+ presets in scene categories that include Night, and 32 colour profiles
- AI smart masking for fast sky, subject and background selections
- A video walkthrough. Every preset, profile and mask stays adjustable
EPIC is not a one-click filter. The presets give you a strong starting point, and you finish each image step by step.
“They inspired me to go back to some old images and reprocess them using EPIC, and I was able to improve my photos in very little time.”
Instant download · Secure checkout · One-time purchase · Lifetime access
Works with Lightroom Classic, Lightroom and Camera Raw.
5. Noise reduction
For the final adjustment, I tend to add noise reduction. For the example image, I used the default settings and added Luminance: +15.
Those are the conventional noise reduction sliders in the Detail panel. Current Lightroom Classic also has Denoise, an AI-based noise reduction you adjust in the same panel. It is a regular, non-destructive edit on supported raw files and does not change the original file. It was not part of this edit, and I have kept the conventional version here because that is how the example photograph was processed.
Thanks for viewing! If you have suggestion for new tutorials, leave a comment below.
Continue reading

4 Easy Steps to Edit Astrophotography in Lightroom
Edit an astrophotograph in Lightroom in four steps: basic settings, tone curve, local masks and final adjustments, with or without presets.

4 Easy Steps to Capture Beautiful Astrophotography Landscapes
Four steps to capture astrophotography landscapes: gear, planning, capturing the photographs and the dual exposure technique (Vision of Depth).

How to capture sharp star photographs
Four things to master for sharp, crisp star photographs: focus, camera equipment, camera settings and post-processing sharpening.