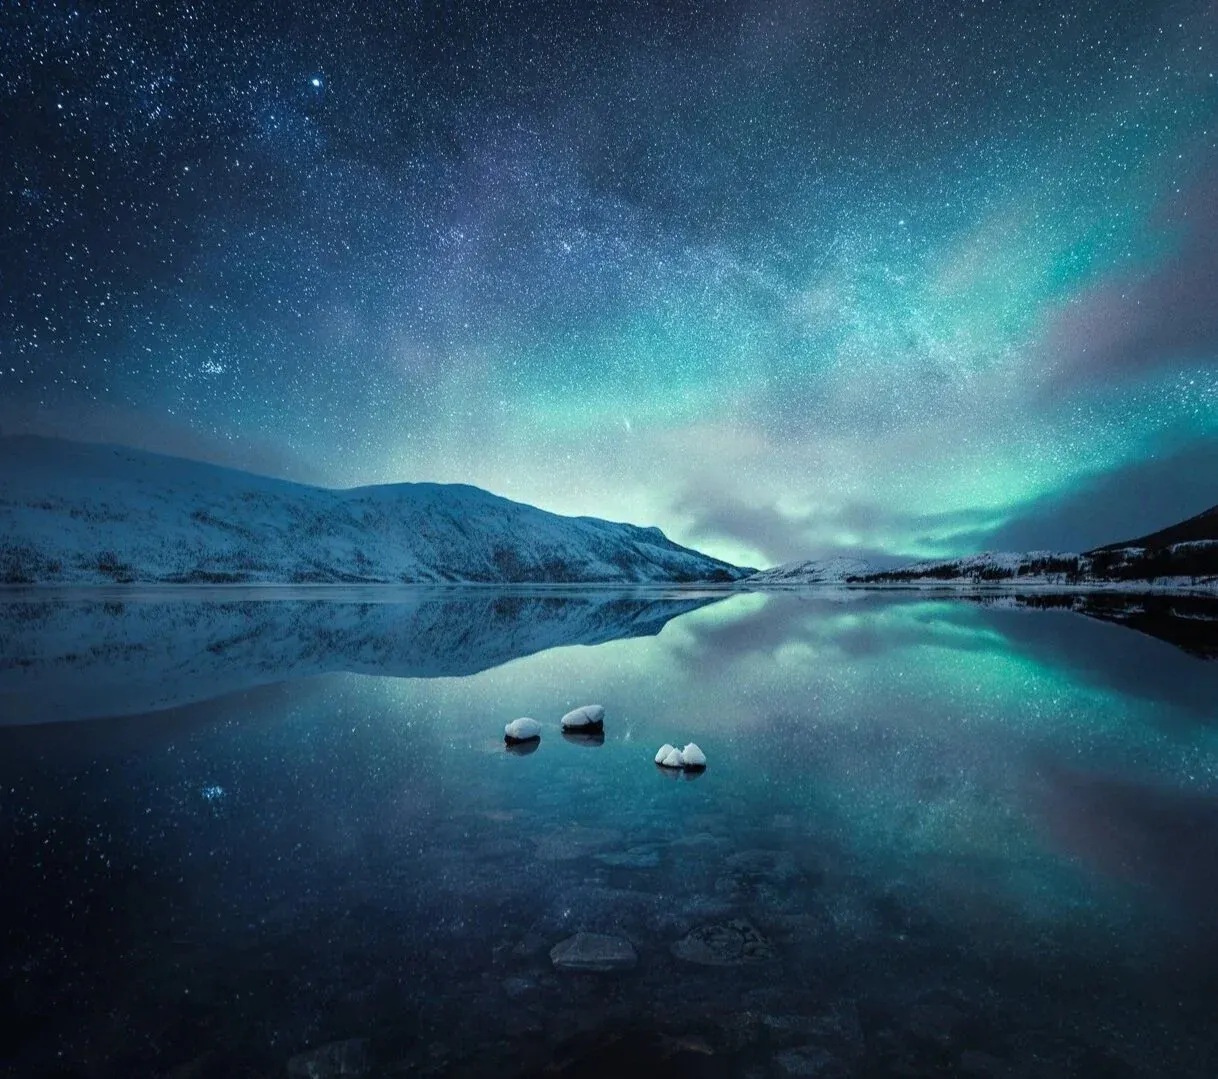
4 Easy Steps to Edit Astrophotography in Lightroom

Contents
In the previous tutorial, we went through Four Easy Steps to Capture Beautiful Astrophotography Landscapes. Here we follow through with how to edit your astrophotographs. If you work with two exposures, 5 Steps to Create Dreamy Astrophotography Using A Dual Exposure Technique is the next tutorial to read.
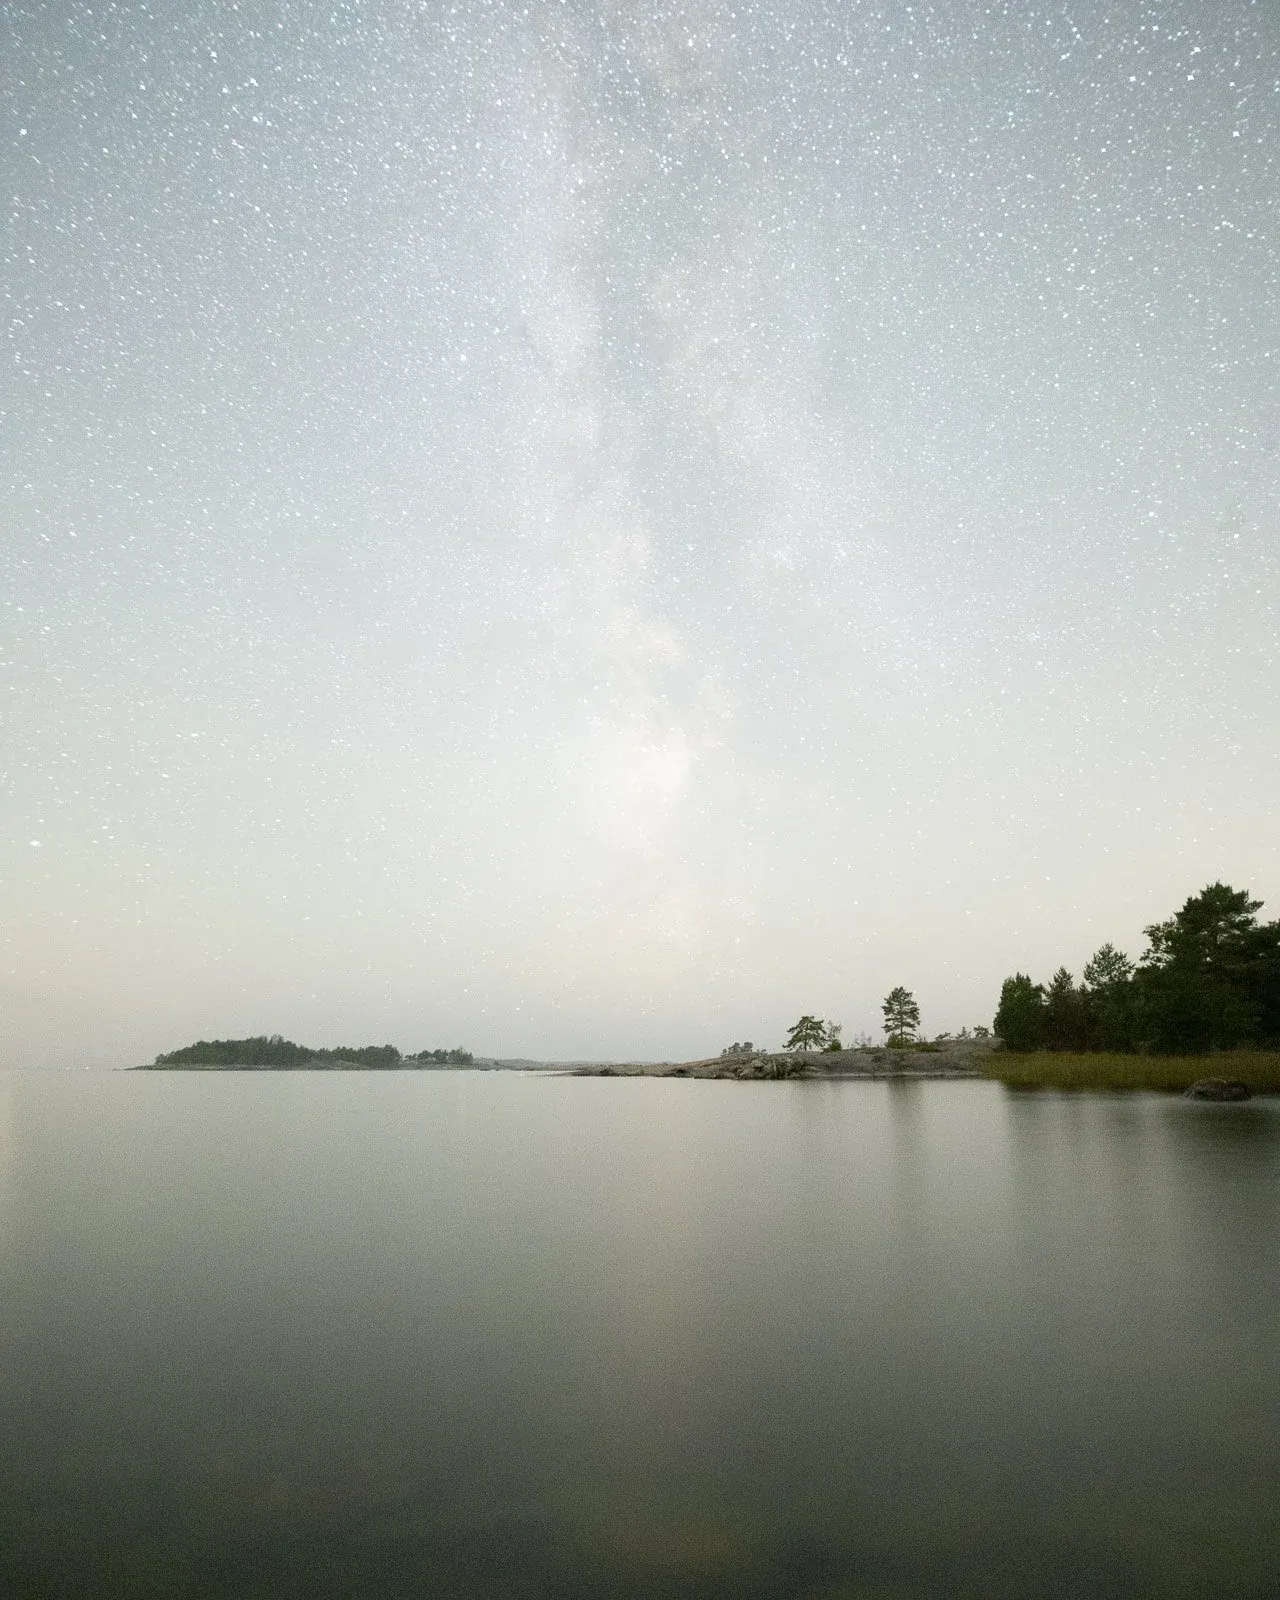
The photograph we are editing here was shot with the Nikon Z 7 and Sigma 20 mm f/1.4 lens. With ISO 8000, f/1.6, and 25 seconds exposure.
Like I wrote in the capture tutorial, if you expose the picture more, it gives you more room for editing in Lightroom. Pulling the shadows is much more challenging when you use high ISO settings. So, don’t underexpose your images.
These settings were made with my EPIC Preset Collection, but you can follow along and make the changes yourself. If you want to try that workflow first, there are free Lightroom presets. The four steps below also work without presets.
The numbers in this tutorial are the values I used for this particular photograph. They are not recommended settings for every night photograph, because exposure, white balance and noise differ from one file to the next, so use them as a starting point. The screenshots show the older local adjustment panels. Where the current Lightroom Classic works differently, I explain it in the step.
1. Basic settings
Let’s emphasize the Milky Way and darken the image to look more like a night photo with the basic settings.
- Temp
- 4200
- Tint
- + 28
- Exposure
- – 1,06
- Contrast
- + 12
- Highlights
- + 7
- Whites
- + 40
- Texture
- + 14
- Clarity
- + 6
- Dehaze
- + 24
2. Tone curve
Darken the image more with the tone curves. Two points, top and bottom middle in the curves.
- Input 188 – Output 180
- Input 93 – Output 75
3. Graduated filters
With the graduated filters, let’s apply light to the foreground and add contrast and detail to the sky. Because it’s a simple photograph, we can use two graduated filters. In current Lightroom Classic the Graduated Filter is part of the Masking workflow. Open the Masks panel (shortcut Shift+W) and choose Linear Gradient, then click and drag across the frame where you want the effect to fade. The shortcut for a Linear Gradient mask is M. The sliders are the ones used below, listed in the mask’s adjustments, while the screenshots show the older Graduated Filter panel.
If you feel fancy, you can also use the Select Sky feature in the Masking tool, which works well for night photographs most of the time. Check the selection overlay, because an automatic sky mask may need refining along the horizon and around trees or other dark shapes.
Foreground graduated filter
Place this filter in the bottom part of the frame. Using Temp and Tint, we try to match the overall colors in the image.
- Temp
- – 14
- Tint
- 4
The following basic settings boost the foreground brightness.
- Exposure
- 0,67
- Contrast
- 8
- Highlights
- 5
- Shadows
- 5
- Whites
- 20
- Blacks
- 4
For this particular image, we don’t need more detail in the foreground. To apply a smoother look, use the following settings.
- Texture
- – 4
- Clarity
- – 14
- Dehaze
- – 14
Lastly, let’s make the saturation lower and apply a noise reduction.
- Saturation
- – 11
- Noise
- 25
Milky Way graduated filter
Emphasizing the Milky Way is easy. Use the following settings if you don’t have to boost it a lot.
- Exposure
- – 0,67
- Highlights
- 24
- Whites
- 15
- Clarity
- 9
- Dehaze
- 10
Noise 16
4. Final adjustments
Apply a lens correction if you have a lot of distortion in your astrophotograph. When working with high ISO photographs noise reduction is essential. I don’t usually add much sharpening for astrophotography because it can create more noise.
Sharpening
- Amount
- 50
- Radius
- 1,2
- Masking
- 10
Noise reduction
- Luminance
- 15
- Detail
- 45
- Contrast
- 15
These are the conventional noise reduction sliders in the Detail panel, and they are what I used for this photograph. Current Lightroom Classic also has Denoise, an AI-based noise reduction you adjust in the same Detail panel. It is a regular, non-destructive edit on supported raw files and does not change the original file. It was not part of this edit.
Post-Crop Vignetting
Vignetting is something I tend to add in the final stages of my editing workflow.
- Highlight Priority
- Amount
- – 9
- Feather
- 100
- Highlights
- 100
Grain
By removing a lot of noise, it’s good to add some grain so you don’t end up with a photograph that looks overly smooth.
- Amount
- 9
- Size
- 10
- Roughness
- 9
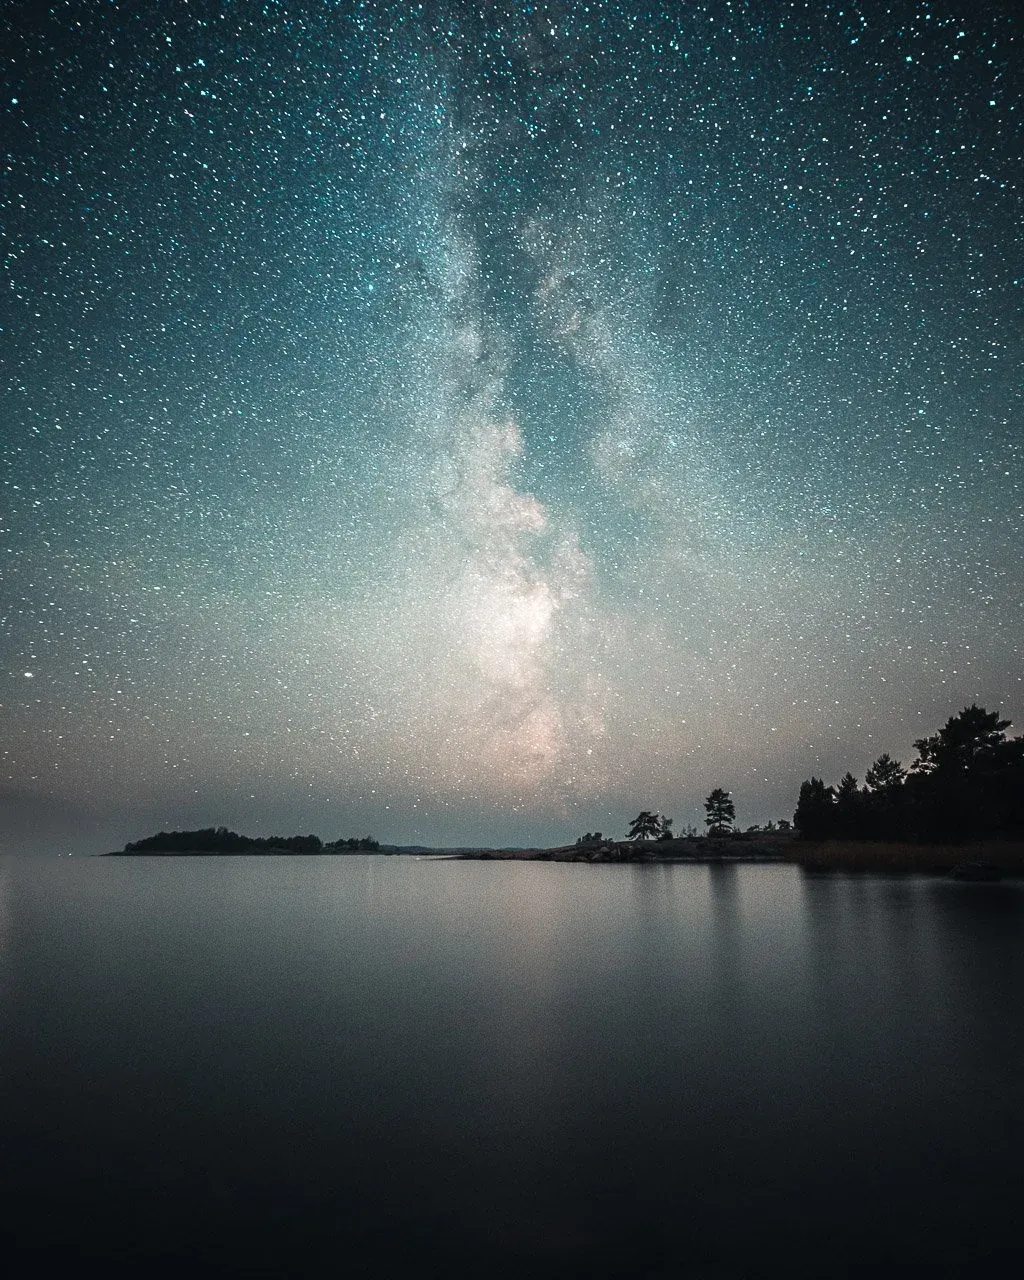
Here is the final edit.
Below are two different versions made with the EPIC Preset Collection.
Your own night edits
From a flat Milky Way RAW to a finished night image
The edit above is done by hand, one panel at a time. EPIC is the system I use to carry every night photograph through the same path, from the first adjustment to the final polish.
- A ten-step Lightroom workflow from first adjustment to final polish
- 500+ presets in scene categories that include Night, and 32 colour profiles
- AI smart masking for fast sky, subject and background selections
- A video walkthrough. Every preset, profile and mask stays adjustable
EPIC is not a one-click filter. The presets give you a strong starting point, and you finish each image step by step.
“They inspired me to go back to some old images and reprocess them using EPIC, and I was able to improve my photos in very little time.”
Instant download · Secure checkout · One-time purchase · Lifetime access
Works with Lightroom Classic, Lightroom and Camera Raw.
Did you find the tutorial helpful? I would love to hear from you; what would you like to see more here on my blog!
Until next time my fellow photographers, take care and keep on creating!
Continue reading

5 Steps to Boost Milky Way in Lightroom
Five steps to boost the stars and Milky Way in Lightroom, shown on an example photograph captured in Yyteri, Finland.

4 Easy Steps to Capture Beautiful Astrophotography Landscapes
Four steps to capture astrophotography landscapes: gear, planning, capturing the photographs and the dual exposure technique (Vision of Depth).

5 Steps to Create Dreamy Astrophotography Using A Dual Exposure Technique
Five steps how to create and edit beautiful and dreamy astrophotography using dual exposure technique.