The Best AI Image Editing Tools for Landscape Photographers (2026 Update)
Contents
First published in April 2023. Updated in October 2026.
When I wrote this article in 2023, I covered the AI tools I had found useful for editing landscape photographs. A lot has changed since then. Topaz now sells its denoising, sharpening and upscaling models together in Topaz Photo and Gigapixel. Adobe’s apps have gained generative features that create new pixels. Luminar Neo has added generative tools of its own.
This update is organised around the problems you are actually trying to solve: noise, sharpness, print size, selections, colour and keeping the result natural.
How this update was made
- Product facts come from the official pages of Adobe, Topaz Labs and Skylum, which I checked in October 2026. The sources are linked in the text and listed at the end. Features, plans and prices change, so check the vendor before you buy.
- My own experience is marked with a year. It comes from the 2023 version of this article and from my published tutorials. I have not re-tested these tools for this update, and I am not claiming to use all of them today.
My own approach
I do not use generative AI to create photographs, and I do not use it to add elements to them. I value real moments in nature and the experience of being there, and I want a photograph to be what I felt when I took it.
That is why this article separates two kinds of tools. Some work from the pixels the camera recorded: noise reduction, sharpening, upscaling and automatic masks. Others generate new pixels from a prompt, or fill in areas the camera never saw. Many photographers and artists use generative tools well, and nothing here is meant as criticism of that. I mark them as generative so you can choose for yourself.
Which tool for which problem
If you want the short answer, start here. Each problem is explained in the sections that follow.
- You already pay for Lightroom. Start with Denoise, Super Resolution and the masks you already have. They are included in the subscription and cover many cases.
- You want a dedicated tool for noise, sharpening or print enlargement. Look at Topaz Photo and Gigapixel. Topaz sells them as subscriptions. Adobe completed its acquisition of Topaz Labs on 23 September 2026, and says Topaz’s apps and models will continue to be available as standalone products. Plans and prices may change, so check Topaz’s site and Adobe’s announcement.
- You prefer a one-time purchase and a simple layout. Luminar Neo is available with a perpetual licence. You keep the application and the tools released up to your purchase date, and Skylum says big upgrades may require extra payment. Skylum lists Restoration, GenErase, GenSwap, GenExpand and the AI Assistant as included for one year, after which they run on an auto-renewal model with Luminar Prime. Skylum’s page does not say whether Noiseless AI, Supersharp AI and Upscale AI fall under that one-year access, so check before buying if you need them. Luminar works on its own or as a plugin for Lightroom Classic and Photoshop.
- You want to learn the edit, not only the tools. Start with my Vík case study, which follows one photograph from RAW file to finished image, and see the EPIC Presets for the Lightroom workflow.
Noise reduction
Noise shows first in night skies, aurora frames, deep shadows and high ISO files. If you photograph at night, it is the first problem you meet.
What the vendors document:
- Lightroom Classic. Since version 14.4 (June 2025), Denoise sits in the Detail panel, together with Raw Details and Super Resolution, as an edit you can adjust or switch off, and Lightroom Classic no longer creates a separate DNG file for it. It uses machine learning on raw files. Adobe explains the technique in Denoise Demystified, which was written in 2023, before that change. In Camera Raw in Photoshop, Adobe’s documentation still describes the Enhance result as a new DNG file.
- Topaz Photo. Denoise is one of the core models in Topaz Photo, which runs as a standalone app or as a plugin for Lightroom Classic and Photoshop. Topaz says local rendering keeps your files on your computer.
- Luminar Neo. Noiseless AI analyses the noise level and suggests a low, middle or high preset, with manual sliders for fine control, according to Skylum’s support page. It is part of Luminar Neo and works as a plugin for Lightroom Classic and Photoshop.
I did not write about my own noise reduction results in 2023, so I have nothing firsthand to add here and will not rank these tools.
A sensible way to start is with what you already own. If you subscribe to Lightroom, try Denoise before buying anything. Look at the result at 100 percent, and pay attention to snow, fog and smooth gradients, where too much noise reduction can leave a plastic look.
Sharpening and missed focus
Sharpening cannot restore what the lens never recorded. These tools are meant for slight motion blur and slightly missed focus, and for finishing a frame that is already sound.
- Lightroom Classic and Camera Raw include sharpening in the Detail panel.
- Topaz Photo lists Sharpen among its core models, along with Super Focus for missed-focus correction. Topaz now sells these models inside Topaz Photo. The separate Sharpen AI app I wrote about in 2023 is no longer on Topaz’s product page, which lists Topaz Photo, Gigapixel and video products.
- Luminar Neo has Supersharp AI, which Skylum describes as a way to rescue slightly out-of-focus images and photographs with motion blur.
My experience, 2023: Topaz Sharpen AI was my go-to sharpener, and it did an excellent job when I needed to add sharpness. That was the older standalone app. I have not tested the sharpening in Topaz Photo, so I cannot tell you how it compares.
If a frame is badly blurred, no setting will save it, and going back to the location is usually the better answer.
Upscaling for large prints
Printing large needs more pixels than many cameras give you. Upscaling adds pixels, and the better tools use what they have learned from other images to make the enlargement look natural.
- Lightroom Classic. Super Resolution, in the Detail panel since version 14.4, doubles the width and the height of the image, which means four times the pixels, and Lightroom Classic does not create a separate DNG file for it. Camera Raw in Photoshop saves the result as a new DNG. Adobe lists limits of 128 megapixels and 32,500 pixels on a side in Use Raw Details and Super Resolution.
- Topaz Gigapixel. Gigapixel enlarges up to 16x according to Topaz. It works with Lightroom Classic as an external editor and with Photoshop through the Automate menu, and Topaz offers both local and cloud rendering. Topaz lists its Wonder models as generative upscaling, which means they reconstruct detail instead of only recovering what was recorded. If you work from your own photographs, compare them with the standard models at 100 percent before you choose.
- Luminar Neo. Upscale AI enlarges up to 6x according to Skylum, with the best results at 2x and 4x, on raw and non-raw files.
My experience, 2023: I used Gigapixel AI to make sure the print size was good for printing large, and I found it fantastic for making my photographs look brilliant in print. That was the Gigapixel of 2023. I have not tested the current models.
Enlarge only as much as the print needs. Large prints are viewed from a distance, so the size of the file you need depends on the print size and where it will hang, and your print lab can tell you the pixel dimensions it wants. My guide to choosing a print explains what to consider on the buying side.
Masking and local adjustments
Masks decide where an adjustment applies, and in landscape work that usually means the sky, the water, the land or one subject. AI masking has made this much faster.
- Lightroom Classic. The Landscape mask selects Sky, Snow, Architecture, Vegetation, Water, Natural Ground, Artificial Ground and Mountains, and you can combine them or make separate masks. Select Objects lets you brush or box an object. Adobe’s masking help lists the tools. Adobe’s release notes say version 15.4 in June 2026 improved subject detection and the accuracy of selections, version 15.5 in August 2026 added Feather and Edge sliders for masks, and version 15.6 in September 2026 added Check All and Check None options for the landscape and people mask options.
- Camera Raw in Photoshop has the same style of masking.
- Luminar Neo has AI Masking and AI Layer Mask, and works with layers.
My experience, 2023: I mostly used Lightroom Classic as my daily choice, and I often used the masking panel for selections and fine adjustments. When I needed heavy editing or layers I turned to Photoshop. Later, in my tutorial on Underneath The Surface, I described merging two exposures in Photoshop and using the warp tool to make the transition work.
An automatic mask is a starting point. Check its edges, feather where needed, and keep the adjustment small enough that the image still looks like the place.
Colour editing and a natural result
Colour is where the look of a photograph is decided. In 2023 I wrote that AI tools can be a great starting point, and that you should be careful not to let them decide what to do with your photograph.
Lightroom’s Color Grading panel, curves and HSL give you control over colour in shadows, midtones and highlights. For a repeatable result across many photographs, I built my EPIC Presets for Lightroom: a ten-step system for light, colour, tone and atmosphere, with presets, colour profiles and a video walkthrough. My Cinematic Color Grading guide shows the reasoning without any presets, and you can try three free EPIC presets first.
Generative features, clearly labelled
Some features in these programs generate pixels. They add, replace or invent content that the camera did not record, so I list them separately.
- Photoshop has Generative Fill, which adds, removes or replaces content from a text prompt, and Generative Expand, which extends the canvas from the Crop tool. Adobe says Photoshop adds Content Credentials to images made with these features when you export them. See Adobe’s pages on Generative Fill and generative credits.
- Lightroom has Generative Remove, which uses an Adobe Firefly model and needs an internet connection. Adobe’s FAQ says it does not currently use generative credits. The Remove, Clone and Heal tools work offline.
- Luminar Neo groups GenErase, GenExpand and GenSwap under Generative AI. Sky replacement (SkyAI) swaps the sky.
- Topaz describes some of its upscaling models as generative, as mentioned above.
These are legitimate tools for many kinds of creative work. In my own work I do not use generative AI to create photographs or add elements to them. If you sell prints, enter competitions or publish for a client, check the rules that apply and consider saying which parts of an image were generated.
How I used these tools in 2023
The experience notes above come from this article as I wrote it in 2023, and I am leaving them as a record rather than as current advice. The remaining note is about Luminar Neo: I used it for a few months to experiment and to step into a beginner’s mindset, and I liked its simple layout.
Keeping the result natural
- Work from the raw file and keep the original.
- Look at the result at 100 percent and at the size you will show or print.
- Use the lowest strength that solves the problem, and compare with the version before.
- Check snow, fog, water and skies. Smoothing and invented texture show there first.
- Keep notes on what you used, especially if you sell prints.
AI tools can make selections, noise reduction and enlargement faster. Thanks for reading, and let me know which tools you use.
Sources
Checked in October 2026. Features and prices can change.
Continue reading
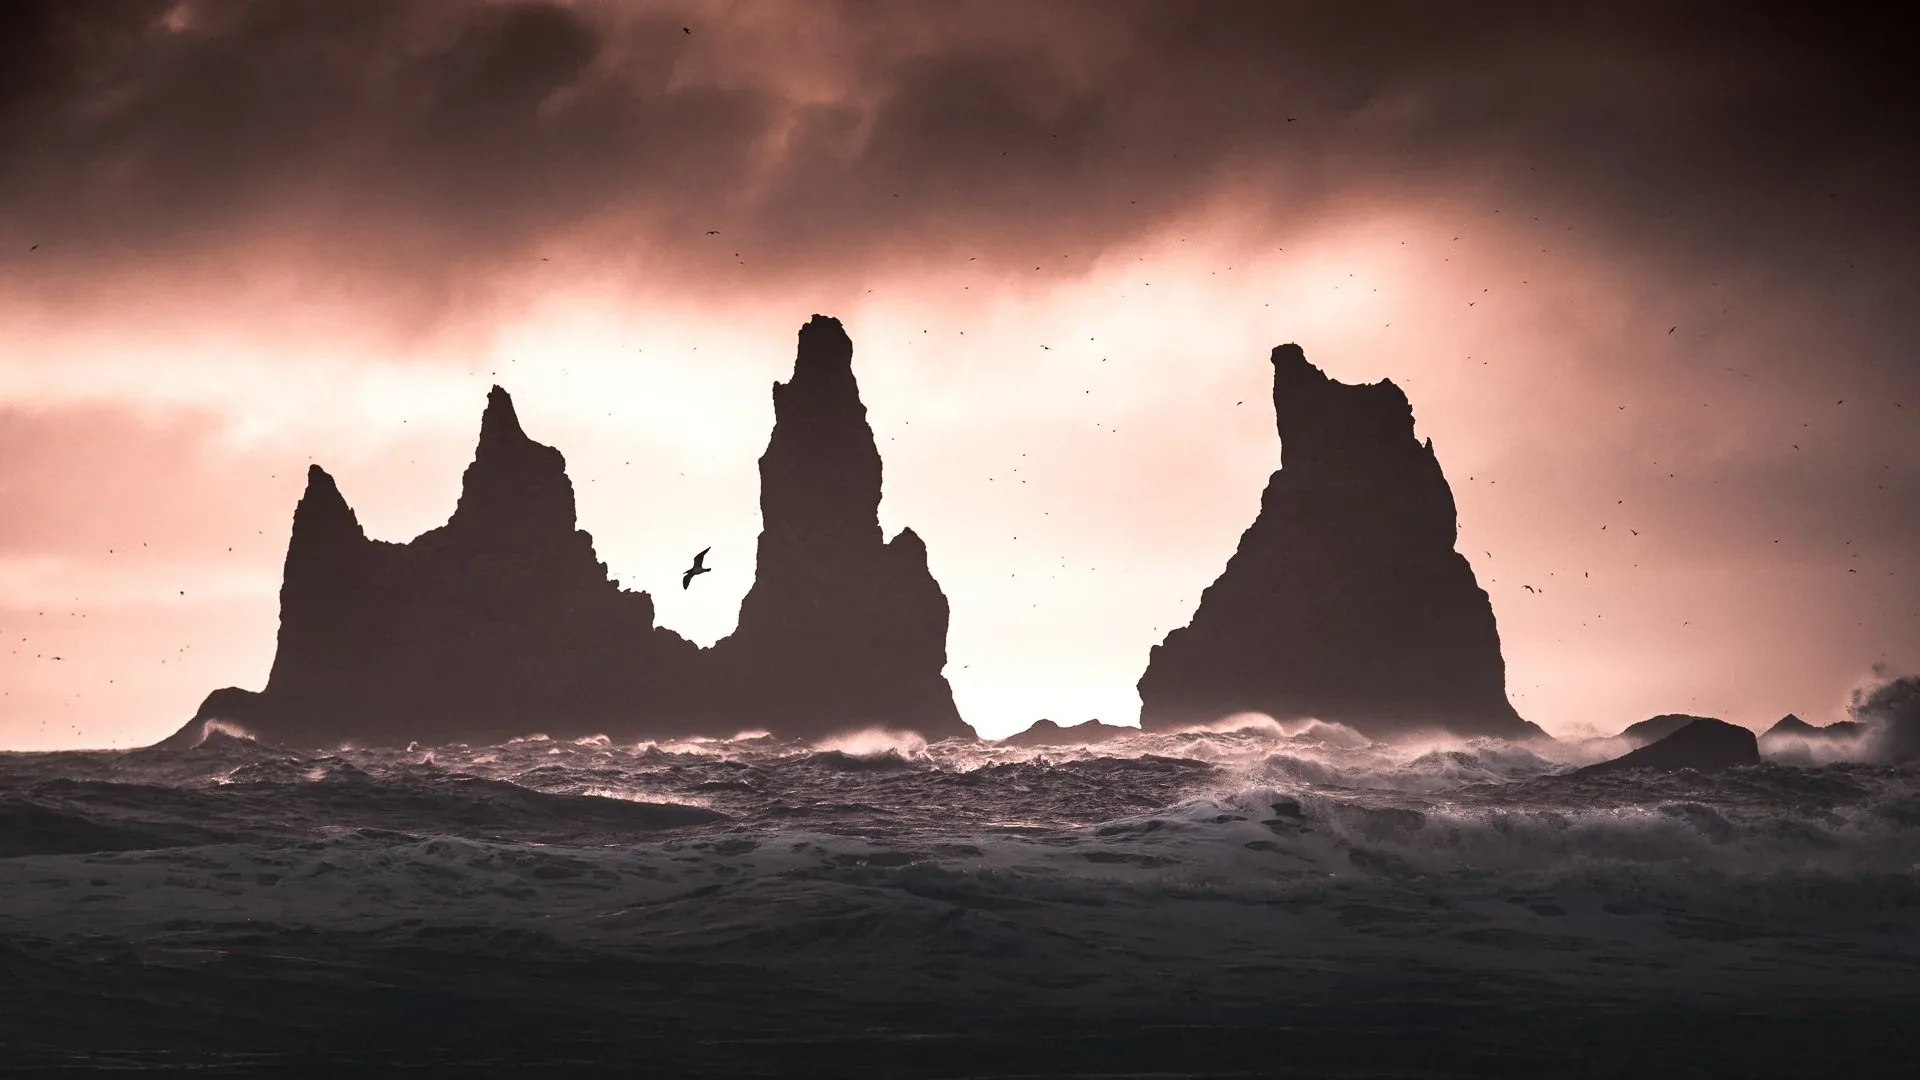
The Myth of the Perfect Shot. An Iceland Case Study
Even in Iceland, RAW files can look flat and boring. See how a lucky moment at Vík was transformed into a dramatic fine art print using color grading.
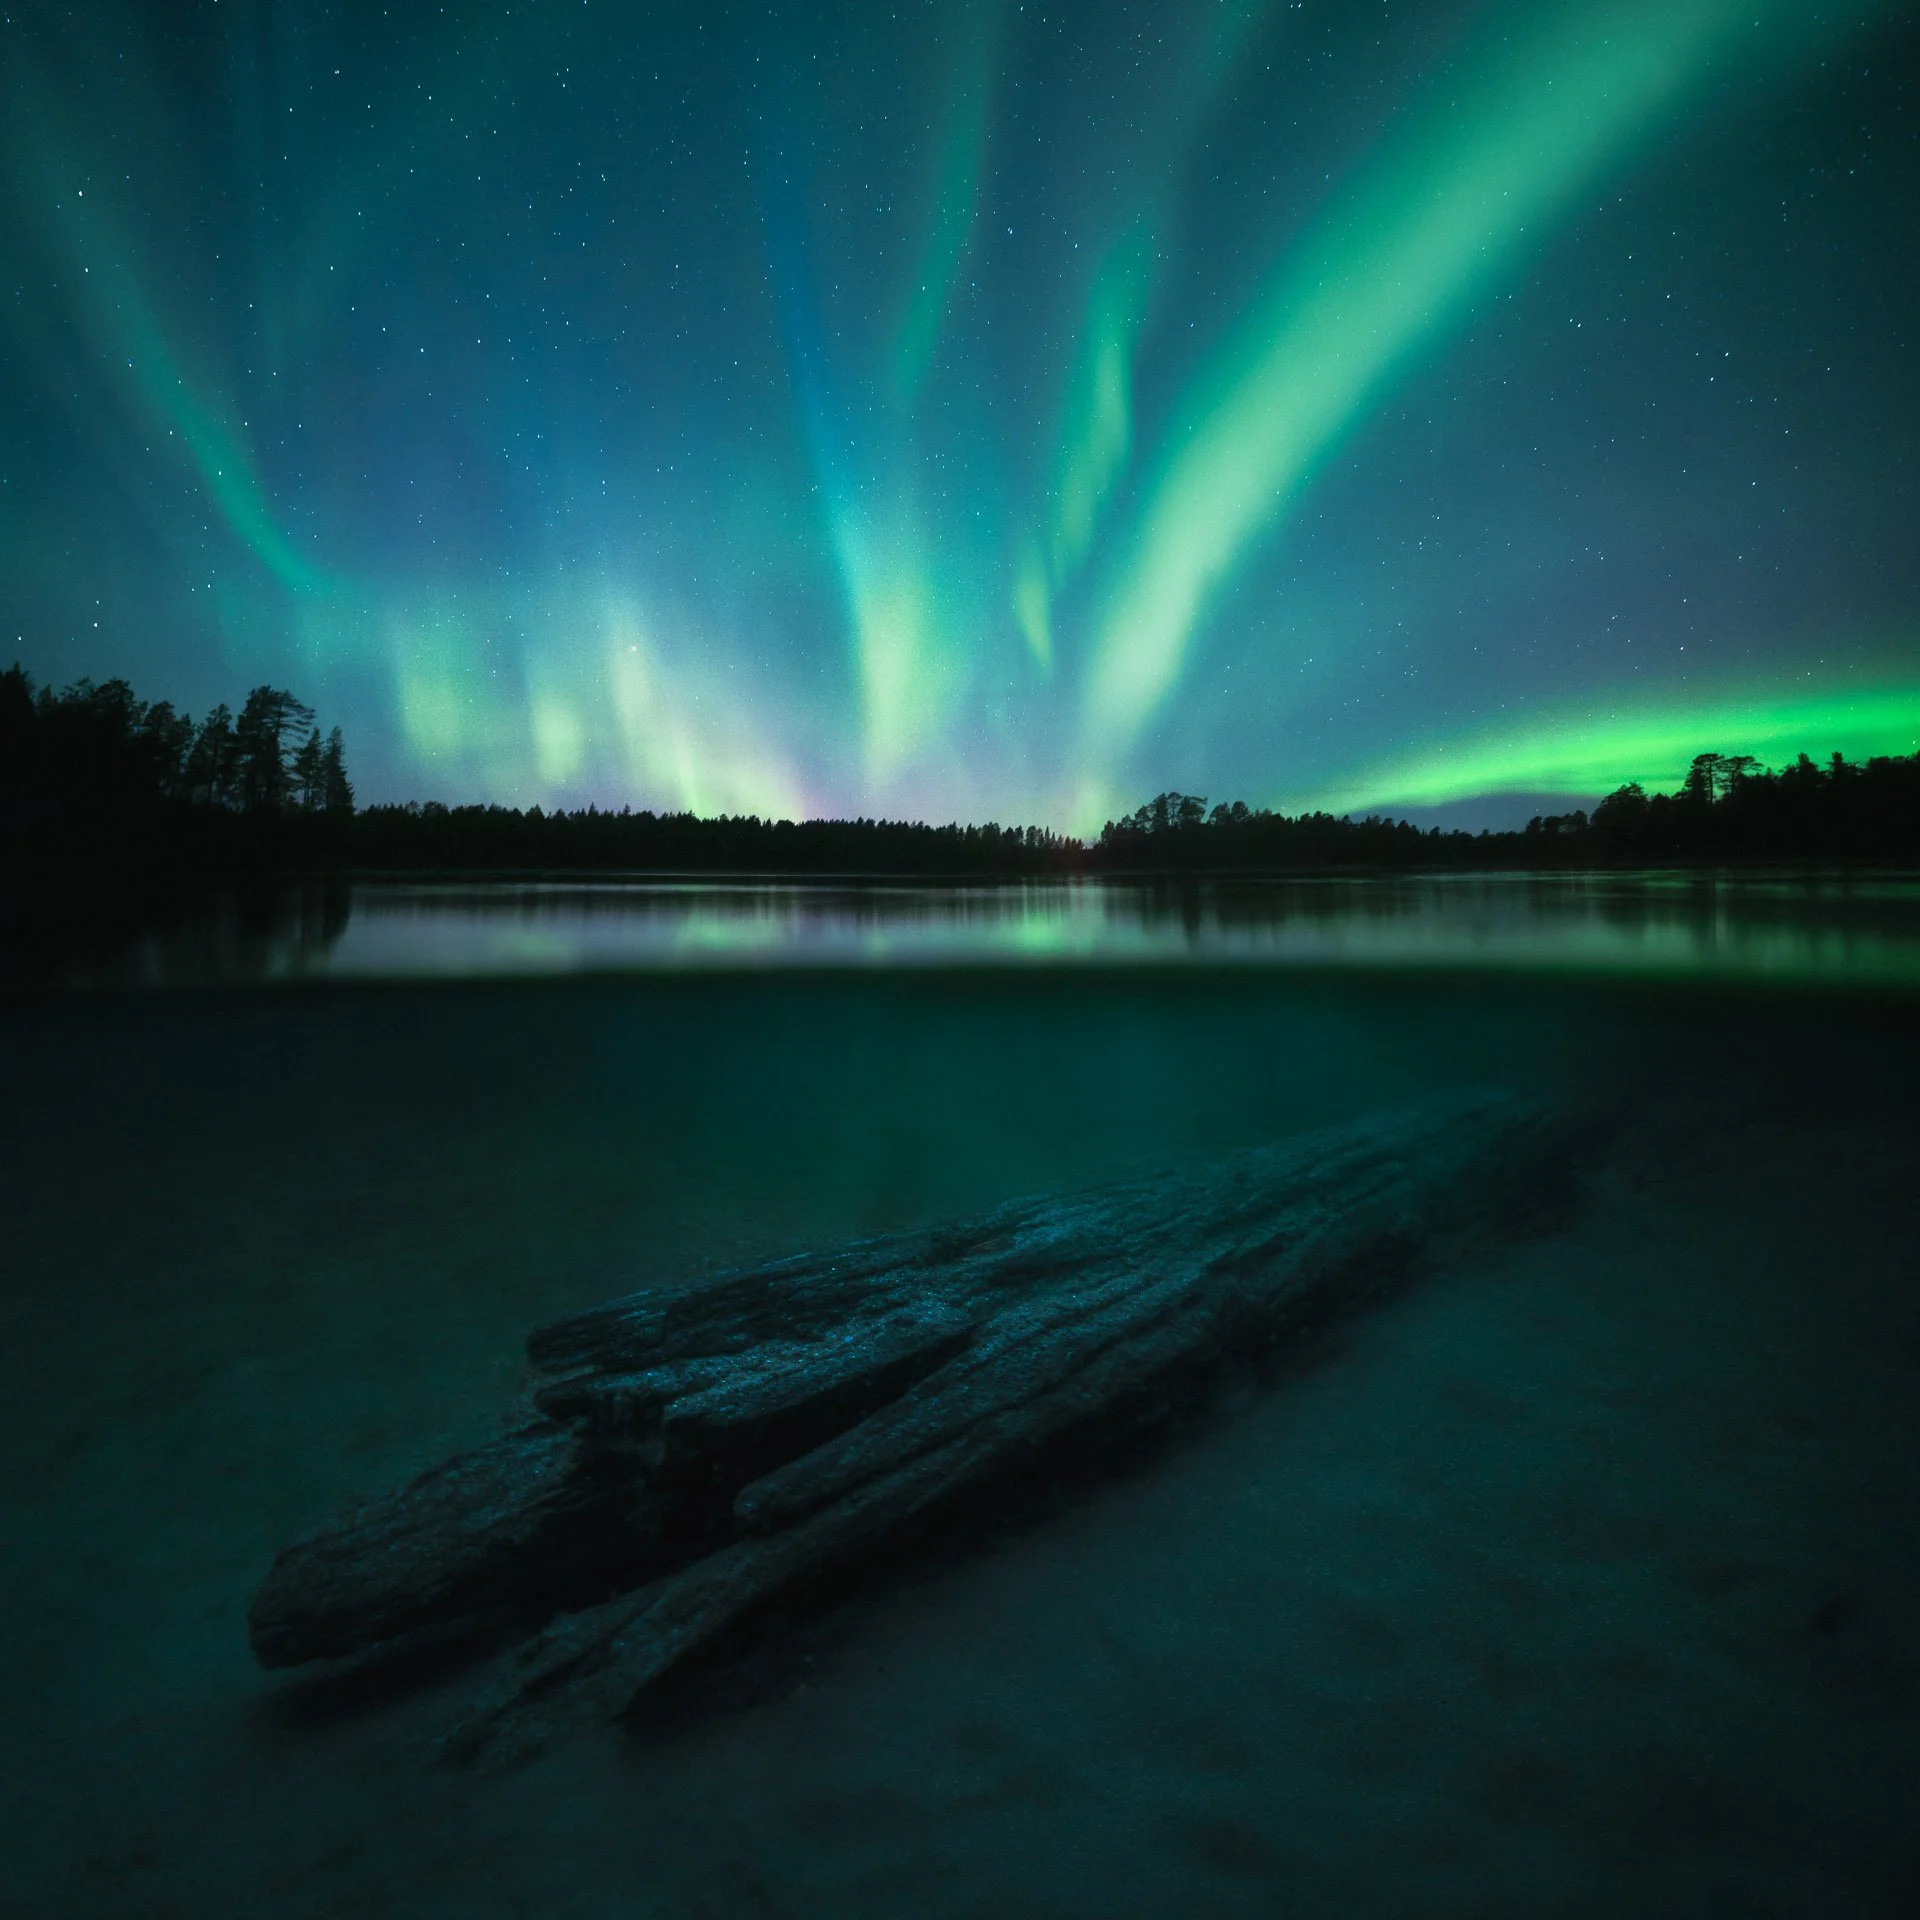
Behind the photography: Underneath the Surface
The story of Underneath the Surface: standing neck-deep in icy Lapland water at night to photograph the northern lights, and how I made the image.
Cinematic Color Grading in Lightroom: Creating Atmosphere
How I use Lightroom's Color Grading tools, cool shadows and a touch of warm light to shape atmosphere in landscape photographs, with real examples.